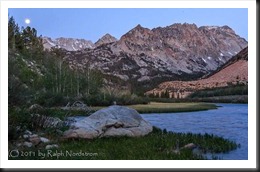
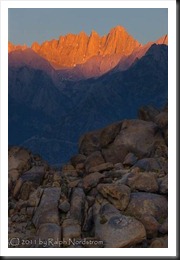
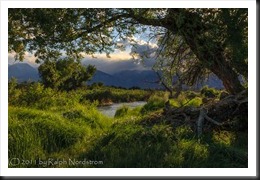
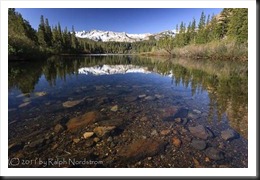
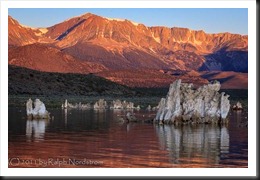
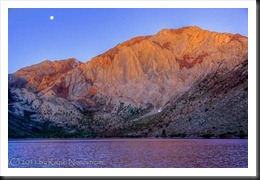
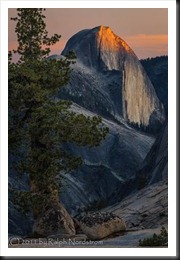
I recently returned from seven fantastic days of an exciting photography workshop in the Eastern Sierra (any day or night in the Eastern Sierra is fantastic). I organized all of my photographs in Lightroom. And I thought it would be a good idea to share the steps I go through in case you might find it useful.
Import
I try to keep up with importing the photographs from the day’s shoots into the copy of Lightroom running on my laptop. I’m not going to go into the specifics of the import process but you can read about it here.
Lightroom Tutorial – Importing Photographs
I’ve set up Lightroom to apply certain adjustments to the files as they are imported. For example, Lightroom applies adjustments in the following Developer areas – Basic, Tone Curve, Detail (capture sharpening), Lens Correction (lens make and model) and Camera Calibration (Process and Profile). The details are spelled out in this post.
Lightroom Tutorial – Camera Specific Presets
Keywords
I like to apply keywords to the files when they are imported. But often I import the files when I return to my hotel room at night. So I have files from the various locations we photographed during the entire day. So the keywords need to be fairly generic. For example, the keywords I applied during the workshop were
California, Eastern Sierra, summer
Not a lot of help there. But now that all the files are imported I’m going back through each day and adding more specific keywords for each shooting location. In Library mode, I select all of the files from that location and add keywords like…
Lone Pine, Alabama Hills, Mobius Arch, Lone Pine Peak, Mt Whitney, morning, sunrise, dawn, alpenglow
I like to use keywords that cover the location, time of day, season of the year, the light and any special weather conditions. It’s a simple matter of repeating the process for each shoot until the keywords have been expanded for all of the photographs.
Stacking
I shoot a lot of HDR. There are times during sunrise and sunset where the dynamic range cannot be captured with a single exposure. So I slip into HDR mode. It’s virtually automatic.
People shoot their thumb to mark the beginning and end of an HDR sequence. I’ve never done that. There is enough information in the EXIF data to tell you which images go together. The most visible clue come from the images themselves. If you’re shooting sequences of 3 HDR images there will be three in a row where the first is a ‘normal’ exposure, the second is underexposed and the third is overexposed. It’s pretty obvious.
Another clue is the capture time in the EXIF data. The sequence of HDR images will be within a second or two of each other.
I like to stack all of the HDR images so that when I go through the selection process I don’t have to look at the underexposed and overexposed images. The images can be stacked manually. Or, you can use a nifty feature built into Lightroom.
In Library mode, select a folder. Press Ctrl-A (Command-A) to select all of the files in the folder. From the menu click Photo | Stacking > | Auto-Stack by Capture Time….
In the dialog box that comes up, adjust the slider for one or two seconds if you’re capturing your files in burst mode (a little longer if you’re capturing them manually). The dialog tells you how many stacks it will create. Click Stack.
There’s one more step. Click Photo | Stacking > | Collapse All Stacks. Repeat this for all of your folders and your ready to move on to the selection process.
Oh, and this can also be used for panoramas too.
Collections
The next step is to create a single collection that contains all of your files from the workshop. It’s most convenient to create a Smart Collection. These are collections based on filters you specify. There are a host of options.
When Importing the files I rename them to include the shoot name, the capture date and the original file name. For example, I use the same shoot name for the entire workshop, in this case, ‘eastern_sierra’. So the file names look like this:
eastern_sierra_120601__SM31292.dng.
In creating the smart collection I can specify that the file names all begin with ‘eastern_sierra’. Or I can specify a capture date range between 6/1/2012 and 6/7/2012. Both work equally well.
In Library mode, expand Collections on the left side and click the +. From the context menu that pops up, click Create Smart Collection….
In the dialog box give the smart collection a name. Specify if you want to place it in a collection set. In this case I put it in the Workshops collection set. Then select one or more filter criteria and specify the values to match. In this case I specified the Capture date must be in the range between 6/1/2012 and 6/7/2012. Click Create and you’re done.
By the way, this can be done at any time, during the workshop or after. If you do it during the workshop new files will automatically be added as you import them. That’s the beauty of a smart collection.
Selection
Now comes the fun part. It’s time to start going through your photographs to select the ‘keepers’ or at least potential ‘keepers.’ With the smart collection just created this becomes a lot easier.
In Library mode, select the smart collection you just created and launch into the selection process. Here’s a post that spells out the details.
Lightroom Tutorial – Diamonds in the Haystack
One thing I may not have mentioned in the above post is when I get the images narrowed down to a dozen or fewer I’ll often give them a quick treatment in Lightroom or even process the HDRs in PhotoMatix Pro. That gives me a better idea of the potential in the image. If I like the processed image I’ll give it the next star.
During the selection process you can also identify the rejects. Tap ‘X’ to flag them. You can delete them from your hard drive but you need to go back to the folder to do that. You can’t delete them from the collection. In Library mode click Photo on the menu and select Delete Rejected Photos….
In Summary
To recap, here are the steps…
- Import your files being sure to also back them up
- Apply your own default adjustments to the files as you import them
- Stack your HDR and panorama photos
- Create a collection that includes all the files from the workshop
- Select the keepers
Now you’re ready to focus on the best photographs from the workshop. This can be very important for anyone who is short of time (and who among us isn’t). I’m very happy if I come away with a handful of keepers from a week of shooting and with this process they can be quickly identified. Now I can focus my attention on them.
I hope you find this as useful as I do.
Join me on an upcoming workshop. Click here for more details.
To see more of my photographs click here.
(2690)

