Five Tips for Successful Hand-Held Photography

These five tips will help you improve your hand-held photography and bring home photographs you will be proud of.

japanese tea garden, golden gate park

As landscape photographers, we prefer to shoot from a tripod. There are a lot of good reasons for this.  Tripods help to ensure a sharp image.  They slow you down so you’re more likely to think through your shot.  They can also keep you from taking so-so shots; if it’s not worth the effort to set up a tripod it’s not worth taking.  And you can dial in very precise compositions.

But when spontaneity is appropriate, tripods simply don’t work. Shooting hand-held gives you the freedom and spontaneity that is required in some situations but it also presents challenges that you don’t even think about when shooting from a tripod.  Fortunately, there are several things you can do to overcome these challenges and create great photographs.

1. Shutter Speed
japanese tea garden, golden gate park

With a tripod we don’t worry about shutter speed.  It doesn’t matter if it’s 1/1000 second or 30 seconds.  But when shooting hand-held, the right shutter speed is essential for a sharp image.  If the camera moves ever so slightly while the shutter is open, you have a blur.

Fortunately, there’s a simple way for you to determine what shutter speed will give you a sharp image and it depends on the focal length of your lens.  The formula is simple: 1 / focal length.  If your focal length is 60 mm then a shutter speed of 1/60 second or shorter will give you a sharp image.  But if your focal length is 100 mm then you need a shutter speed of 1/100 second or shorter.

If you have a crop sensor camera then you need to use the effective focal length.  Using a crop sensor Nikon as an example, the conversion factor is 1.5.  In other words, if the lens says 100 mm the effective focal length is 100 x 1.5 or 150 mm.  So, the shutter speed needs to be 1/150 second or shorter.

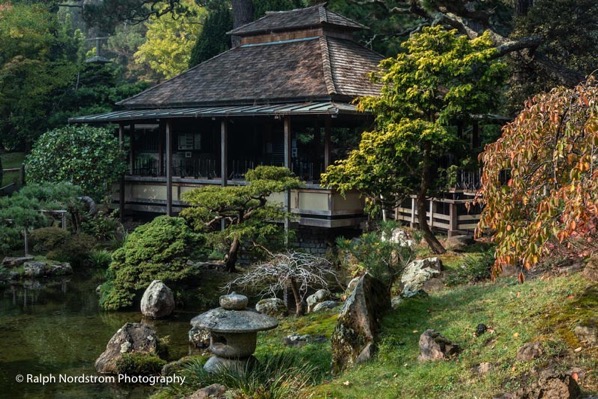
This photograph above was taken at the Japanese Tea Garden in Golden Gate Park, San Francisco.  It’s an extraordinary experience, especially early in the morning when the crowds are light.  The focal length was 47 mm so a shutter speed of 1/50 second would have been fast enough to get a sharp image.  However,  with image stabilization I was able to shoot it at 1/25 sec.  ISO was bumped to 1600 because of the dark conditions.  And an aperture of f/11 ensured enough depth of field for everything to be sharp.

You still want to hold the camera as steady as possible when taking your shot.  It’s the combination of a steady camera and an appropriate shutter speed that will give you a sharp image.

Continue reading “Five Tips for Successful Hand-Held Photography”

(190)

Making a Photograph – Fort Point

Not long ago I was in San Francisco for some photography. I was interested in photographing Fort Point because it would be a good opportunity to emphasize design elements and abstractions. Fort Point is part of the National Park system and situated at the mouth of the San Francisco Bay. Its intent was to protect the bay from attack. Construction was completed in 1861. It never fired a shot.

If you’re interested in learning more about the fort, here are a couple of interesting links.

https://en.wikipedia.org/wiki/Fort_Point,_San_Francisco

https://www.nps.gov/fopo/learn/historyculture/index.htm

These “Making a Photograph” articles generally take a single, successful photograph and walk through the process of its creation from the moment of inspiration in the field to the finished product. What that doesn’t show is the scores of rejects that ended up in my memory card, what I was trying to do with them and how and why it didn’t work. I think there’s as much to be learned from the rejects as there is from the keepers.

So in this post I want to ‘air my dirty laundry’ so to speak and share with you not only the keepers but the rejects. I also want to take you through the process of looking deeper into the rejects in an effort to learn from my mistakes.

So come along with me as I share my flubs and successes at Fort Point. Continue reading “Making a Photograph – Fort Point”

(138)

Central Coast and Napa Journal

Come along as I share some of the beautiful scenes found along California’s Central Coast and in Napa Valley.

California is a great place.  Here are just a few names will help to demonstrate that point – Pacific Ocean, Mojave Desert, Death Valley, Sierra Nevada Mountains, Mt Whitney, Yosemite and Sequoia, redwoods (two different kinds), Big Sur, Mt Shasta; shall I go on?

Recently my wife and I spent a few days in two of these places that makes California so special – the Central Coast and Napa Valley.  I’d like to share a little of what we saw there.  Where to start?

When you think of light houses you don’t necessarily think of California.  But we have some great ones.  Here are a few examples.

point_reyes_110916__A1P6693_4_5_6_7-Edit

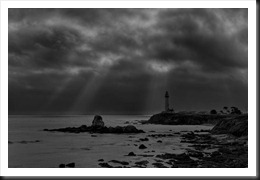
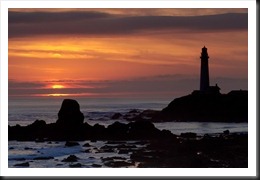
Pigeon Point Lighthouse is really cool, especially on a day like this one.  It has the slender beauty typically associated with New England lighthouses.  And it has the benefit of being on the West Coast where we have some pretty nice sunsets.

Pigeon Point Lighthouse

Continue reading “Central Coast and Napa Journal”

(1247)