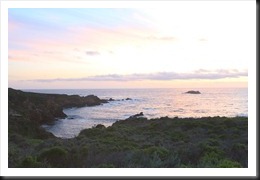
Last night I ran across an example of why we shoot in RAW (not in the RAW – puhleeeze).
Digital SLR cameras and a few point and shoot camera support the RAW file format for our images. RAW is essentially what the sensor captured – unprocessed, uncompressed, unadulterated. It takes a bit to get used to but once you do you’ll not go back to JPEG, the other file format.
One of the benefits of RAW is it gives you a lot more flexibility including recovering from poorly exposed images, especially over exposed. Now, if you’ve read any of my histogram posts (search this blog for Histograms to find them), you know that the single most important thing to avoid as far as exposure is concerned is highlight clipping. But with RAW you have a chance to recover an overexposed image and turn it into something very acceptable. It doesn’t always work but sometimes it does.
 OK, so I was scanning images in Lightroom last night and ran across this one. It’s washed out except for the foreground and there is a tremendous amount of highlight clipping in the upper right hand corner. (I wouldn’t blame you if you stopped reading hear and said, “There’s no way he can do anything with that image. It’s a mess.” Which it is. But humor me and read on.)
By the way, you can click on the images to see them in a larger format.
Continue reading “Lightroom Tutorial – Shooting RAW”
(1779)
