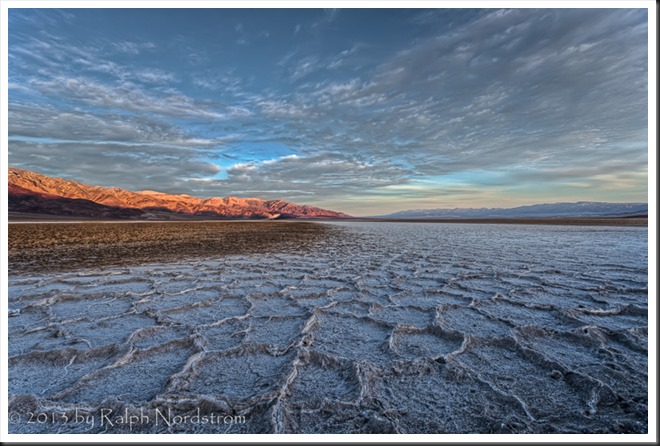
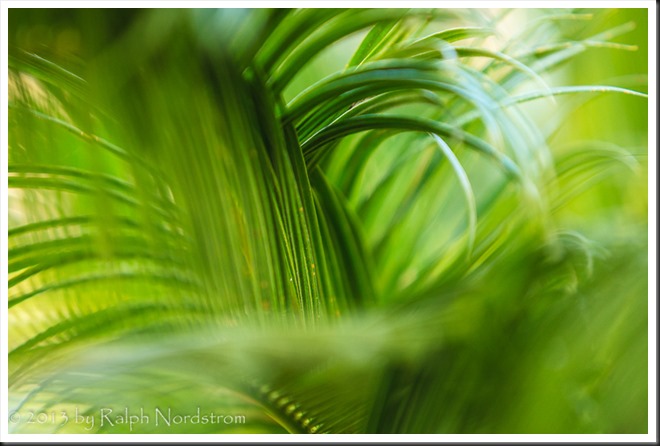
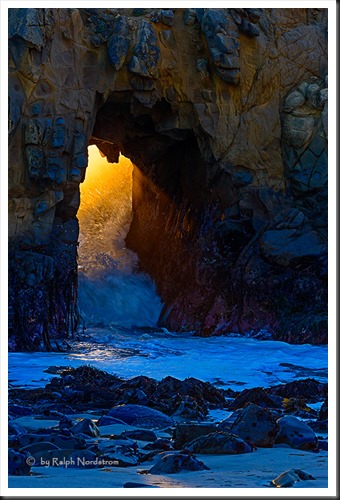
Gestalt

Incorporating gestalt into your landscape photographs.

From time to time the term ‘Gestalt’ has come up in articles and classes on composition.  I never quite grasped the concept.  I thought Gestalt is an approach some psychologists use in their counseling. And to make matters even more confusing, the origin of the term didn’t help.  It comes from the German word that means ‘shape.’  It just wasn’t sinking in.  Until recently….


The concept started to make sense as I was preparing the Mastering Landscape Photography class for the Joshua Tree National Park Desert Institute here in California.  In this course I take a deep dive into light and composition.  I’ve been studying the ‘rules’ of composition for many years now and the authors tend to make broad generalizations on the effect they have on the viewers.  More recently I studied the impact colors have, not from the perspective of visual arts but rather from the studies performed by researchers in psychology.  Through their studies, the researchers found that the colors they studied, generally prime colors, can have either a positive or negative effect on their subjects. And the effect depended on many factors but based on these factors they were consistent.  That got me thinking. 

Continue reading “Gestalt”

(199)

Five Tips for Successful Hand-Held Photography

These five tips will help you improve your hand-held photography and bring home photographs you will be proud of.
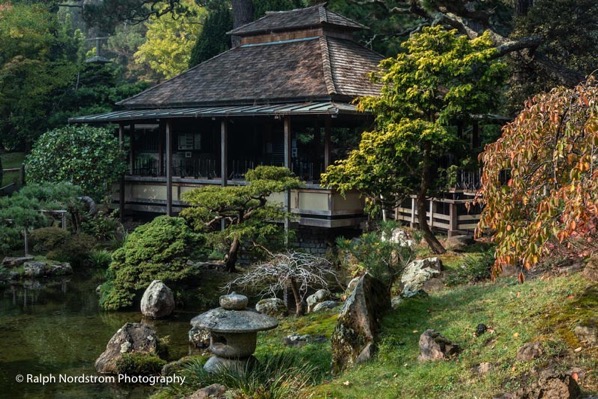
japanese tea garden, golden gate park

As landscape photographers, we prefer to shoot from a tripod. There are a lot of good reasons for this.  Tripods help to ensure a sharp image.  They slow you down so you’re more likely to think through your shot.  They can also keep you from taking so-so shots; if it’s not worth the effort to set up a tripod it’s not worth taking.  And you can dial in very precise compositions.

But when spontaneity is appropriate, tripods simply don’t work. Shooting hand-held gives you the freedom and spontaneity that is required in some situations but it also presents challenges that you don’t even think about when shooting from a tripod.  Fortunately, there are several things you can do to overcome these challenges and create great photographs.

1. Shutter Speed
japanese tea garden, golden gate park

With a tripod we don’t worry about shutter speed.  It doesn’t matter if it’s 1/1000 second or 30 seconds.  But when shooting hand-held, the right shutter speed is essential for a sharp image.  If the camera moves ever so slightly while the shutter is open, you have a blur.

Fortunately, there’s a simple way for you to determine what shutter speed will give you a sharp image and it depends on the focal length of your lens.  The formula is simple: 1 / focal length.  If your focal length is 60 mm then a shutter speed of 1/60 second or shorter will give you a sharp image.  But if your focal length is 100 mm then you need a shutter speed of 1/100 second or shorter.

If you have a crop sensor camera then you need to use the effective focal length.  Using a crop sensor Nikon as an example, the conversion factor is 1.5.  In other words, if the lens says 100 mm the effective focal length is 100 x 1.5 or 150 mm.  So, the shutter speed needs to be 1/150 second or shorter.

This photograph above was taken at the Japanese Tea Garden in Golden Gate Park, San Francisco.  It’s an extraordinary experience, especially early in the morning when the crowds are light.  The focal length was 47 mm so a shutter speed of 1/50 second would have been fast enough to get a sharp image.  However,  with image stabilization I was able to shoot it at 1/25 sec.  ISO was bumped to 1600 because of the dark conditions.  And an aperture of f/11 ensured enough depth of field for everything to be sharp.

You still want to hold the camera as steady as possible when taking your shot.  It’s the combination of a steady camera and an appropriate shutter speed that will give you a sharp image.

Continue reading “Five Tips for Successful Hand-Held Photography”

(190)

Tripod or Hand-Held

Take a closer look at the advantages of hand-held photography versus shooting from a tripod,

I was talking with a friend the other day in Joshua Tree about the differences between shooting landscape photography from a tripod versus hand-held.  He had been faithfully photographing from a tripod but did some shooting hand-held, apparently for the first time, and was excited with the sense of freedom he experienced.  We had a brief conversation on the advantages and disadvantages of both methods.  I’d like to share the conversation with you.

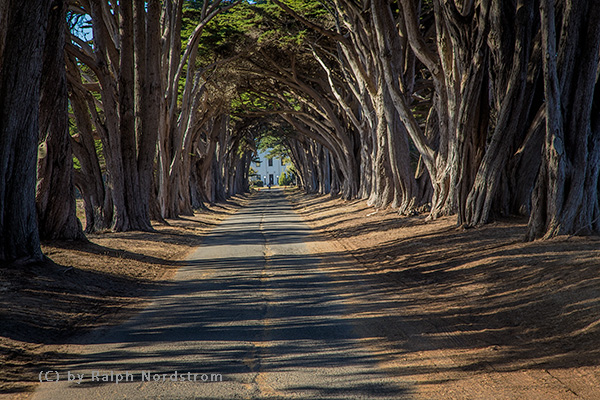
Cypress tunnel long central coast 180919 B0A1117 Edit 2

Continue reading “Tripod or Hand-Held”

(263)

“There Are No Rules of Composition”

Take your photography beyond the rules of composition.

It is often said that there are no ‘rules’ of composition. And yet, there they are – Rule of Thirds, Golden Rule, Leading Lines, S-Curves, Layers, Off Center, Symmetry, Perspective, Lines of all sorts and on and on. And why is it that when so many fellow photographers comment on one of your photographs they comment about the rules of composition and not what the image expresses? In fact, most books and courses on composition begin by stating that there are no rules of composition before launching into an exhaustive analysis of, yep, the rules of composition. And of course, it’s not fashionable to refer to the rules of composition as rules anymore because ‘there are no rules of composition.’

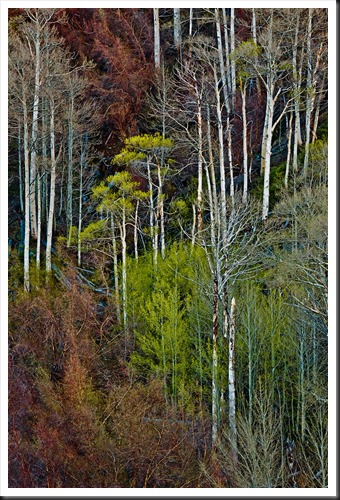
aspen_spring_2011

And yet we diligently study them all the same.

Continue reading ““There Are No Rules of Composition””

(364)

Making a Photograph – Two Sides of the Coin

Landscape photography in the digital age requires an unlikely but necessary blending of technical and creative skills. But keep life simple; don’t let the technical drown out the creative.

I recently read an article by William Neill in the September Outdoor Photography magazine titled “Need to Know” that really resonated with me.  His main point is, don’t let the acquisition of gear and techniques interfere with the experience.  There’s so much information out there, so many people offering advice on techniques for composing, exposing and post processing.  But in Neill’s journey he has developed what he calls, ‘… a simple but effective tool set.”

A foundation of gear and technique is important in capturing the experience.  But it is the experience that is what we’re out there for, not histograms or depth of field or leading lines.

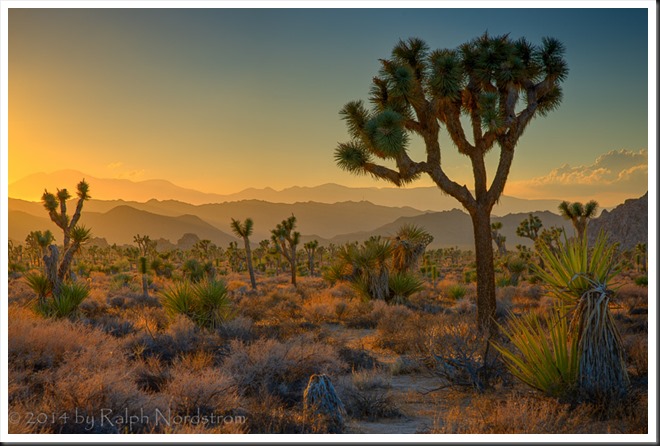
joshua_tree_140920__SM32515_6_7_8_9-Edit


Continue reading “Making a Photograph – Two Sides of the Coin”

(784)

Ten Reasons to Take a Photography Workshop

Ten good reasons to take a photogrpahy workshop.

We all love photography.  Perhaps you are a casual photographer, using your smart phone or point-and-shoot camera to capture the precious moments in life you cherish and want to remember.  Perhaps you admire the work of others and would like to be able to capture scenes or moments like they do.  Or maybe you are skilled and have been passionate about your own photography for quite some time now.

For those that seek to develop themselves as photographers there are a couple of approaches you can take.  You can learn on your own by reading and photographing.  And if you are able to devote the time and energy to this process you will surely be successful.  However, it is more of a trial-and-error approach to learning photography and, let’s face it, we don’t all have the time or energy to adequately feed our passion.

Or, you can learn from someone who has already mastered the challenges you encounter along the way.  And one of the most effective and affordable ways of accomplishing this is through a workshop.

So I would like to share with you my top ten reasons for attending a workshop.

1.     Inspiration

Photography workshops give you the opportunity to focus just on photography and capturing the beauty that surrounds you.  The complications of your busy life are left at home or at work and for several stimulating days your existence is focused on one thing – capturing the beauty that surrounds you.

eastern_sierra_130712__SM36935_6_7_8-Edit

Continue reading “Ten Reasons to Take a Photography Workshop”

(973)

Mastering Sharpness – Depth of Field

One of the Four Pillars of a successful landscape photograph is Appropriate Sharpness. This article explains how to get sharp images and illustrates how a useful app – Lens*Lab – can help.

A topic that receives a lot of attention in our workshops is focus.  It’s incredibly important, so important that I consider Appropriate Sharpness to be one of the four pillars of a successful landscape photograph.  (For more, read Making a Photograph – The Four Pillars.)  Most of the questions center around depth of field and hyperfocal distance.  In fact, this is so important that I give a class on Appropriate Sharpness during just about every workshop.  Let’s start the discussion with Depth of Field

Depth of Field

This is the range, if you will, of objects in the view of your camera that are in focus.  Objects in front of this range are out of focus as well as objects behind the range.  A deep depth of field would have the flowers just a few feet from you camera and the distant mounts miles away all in focus.  The depth of field would then extend from a couple of feet to infinity and for all practical purposes would be infinitely deep.  This is often referred to as a ‘near-far composition.’

death_valley_sunrise_2012_rrpm_rc0A shallow depth of field may be just a couple of inches deep with nearer and more distant objects out of focus.  This is referred to as ‘Selective Focus.’

sego_palm_130629__SM36636

Continue reading “Mastering Sharpness – Depth of Field”

(3434)

Mastering Composition – Rule of Thirds

Use the Rule of Thirds to create visual tension in your images and stimulate the viewer’s interest.

The Rule of Thirds is a compositional principle that is widely used. And for good reason because, well, it works.  At least, it works in a lot of situations.

What is the Rule of Thirds? You superimpose a tic-tac-toe grid on your image, two vertical lines equally spaced and two horizontal lines equally spaced. Then you place the key elements of your image on or near those lines, or at one of their intersections.  They don’t have to be exactly on the lines or intersections, just near them.  This is art, not engineering, so it’s important that it feels right.  But the Rule of Thirds gives us positions that are visually very strong and command the viewer’s attention.  That’s why you want to use this principle for the key elements of your composition, the elements you want to draw the viewer’s eye to.

clip_image002

One should be cautious in overusing the Rule of Thirds. It should not be applied mechanically and certainly not universally.  It does not apply to all compositions.  After all, aren’t our ‘Rules’ of composition made to be broken?  But on the other hand, sometimes a composition gets just a little bit stronger when you move the key element just a tiny bit to place it closer to or right on a 1/3rd line.

The fact is it works so well in so many situations that the camera manufacturers give us the ability to display the grid on our camera’s LCD screens and viewfinders. Also, software publishers like Adobe display the grid when we use the crop tool. This is true of Elements, Lightroom and Photoshop. And these aids can be very helpful in achieving strong compositions.

Why does the Rule of Thirds work so well? To answer that let’s talk about Visual Tension.

Continue reading “Mastering Composition – Rule of Thirds”

(2804)

Mastering Composition–More Border Patrol

Small tweaks around the borders of your photograph can have a powerful effect on the overall strength of your composition.

It may not be obvious at first but a photograph’s border is a critical element of a successful composition.  All too often we get so focused on the subject that the borders get  ignored.   Because it’s so important I’m writing a second post on the subject.  To read the first post you can click on this link  – Mastering Composition – Border Patrol.

For this post take a look at this photograph.

big_sur_131105__SM38613-flat

The photograph is of the famous tunnel at Pfeiffer Beach in Big Sur, California.  In wintertime, as you can see, not only do the waves come crashing through but the setting sun turns the water to liquid gold.  It’s easy to get so absorbed by the spectacle that important elements of the composition get ignored.  Can you see what I missed here?

Continue reading “Mastering Composition–More Border Patrol”

(2292)

Mastering Composition – Border Patrol

Your photograph’s borders are key elements to a strong composition. What goes on there can make or break the image. Read about just one consideration to take into account when composing your photographs.

“When I compose an image I spend more time getting the borders right than I spend on the subject.”  You think this is a surprising statement?  There are a lot of photographers that I really admire for whom this statement is true.  I know when I first started out I had no idea what was happening on the borders.  I paid no attention to them.  Until it was pointed out to me that my borders were very sloppy.  And from that point on composition got a whole lot harder because getting clean borders is not a trivial task.  But over time it became second nature to me.  Now I always check the borders and make appropriate adjustments before I press the shutter.

Well, almost always.  Take a look….

Continue reading “Mastering Composition – Border Patrol”

(1888)