Is That What Your Camera Saw?

Should photographic art be what the camera sees? Or something else…?

Occasionally at art festivals a visitor to my booth will point to one of my photographs and ask, “Is that what your camera saw?”  This question points out a common misunderstanding about the physics and art of photography.

Those of us who are serious about our photography capture our digital images in RAW file format.  That’s a format that does a minimal amount of processing on the image before it saves it to the memory card.  It is more like what the camera sees.

The other format is  JPEG and is not what the camera sees but rather a highly processed image that is controlled to a large extent by the settings the photographer sets in the camera – settings like sharpness, contrast and saturation.  So if the photographer likes saturation he just has to up the saturation setting in the camera.

JPEG is much closer to the photographs that were captured in the wonderful days of film.  Each different type of file had its own unique way of responding to the scene.  Kodachrome film was great for reds while Ektachrome was perfect for blues.  Fujichrome was prized for its treatment of greens and its high contrast.

So what did the film camera see?  The question is really, “What did the film see?”  Was it a faithful documentation of reality?  Not in the least.  The same can be said for JPEG digital files.  They are no more a faithful documentation of reality than film was.

The fact is, RAW files are closer to what the camera saw than film or JPEG files ever were or will be.  And, as one workshop participant put it to me, “I don’t like shooting in RAW because the photographs are so plain and uninteresting.”  There you go.  What the camera sees, exactly what the camera sees, is often plain and uninteresting.

So the physics of digital images captured in RAW format is that the images are the closest to what the camera sees.  But from an artistic point of view, these images generally do not speak to us.  These are documentation but that’s not art; art is interpretation.

Now, a RAW file is the perfect starting point from which to create art.  It is neutral, unbiased and open to the artist to express what she saw, what she experienced that inspired her to set up the camera and compose the image, that led to the decisive moment that the shutter was pressed.

In the days of film we relied on our selection of the type of film that would do the best job of rendering particular situations.  In the digital era we have much more powerful tools that we ever had with film – Lightroom, Photoshop, Photomatix and all the wonderful software that we have access to that allows us to express our vision, our interpretation of reality.

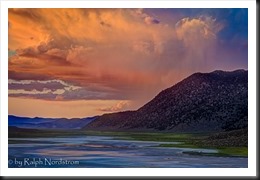
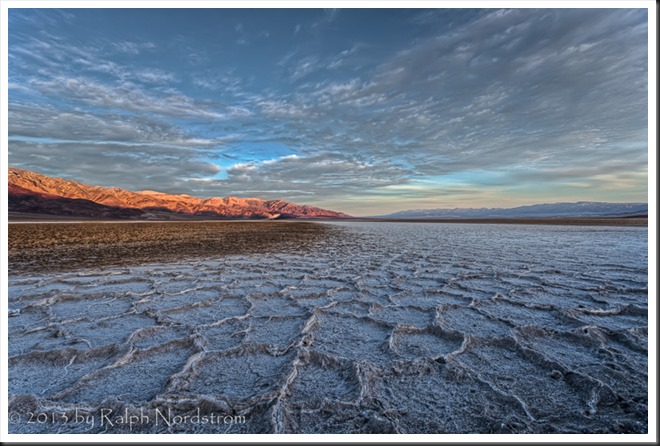
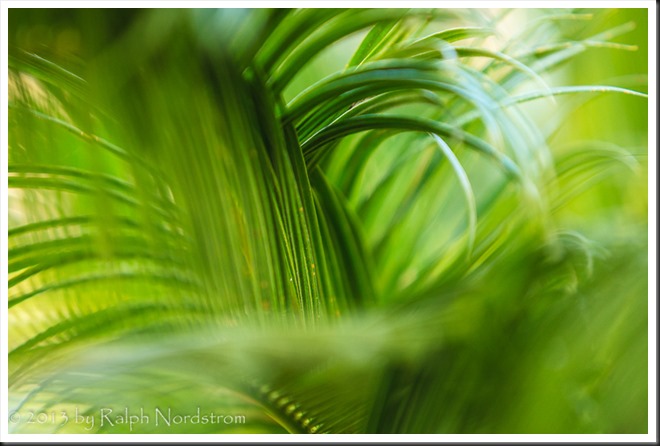
So, are my photographs what the camera saw?  Not at all.  They are what I saw.


We do photography workshops.  Come on out and join us.  Click here to check us out.

You can also check out our photography.  Click here.

(699)

Ten Reasons to Take a Photography Workshop

Ten good reasons to take a photogrpahy workshop.

We all love photography.  Perhaps you are a casual photographer, using your smart phone or point-and-shoot camera to capture the precious moments in life you cherish and want to remember.  Perhaps you admire the work of others and would like to be able to capture scenes or moments like they do.  Or maybe you are skilled and have been passionate about your own photography for quite some time now.

For those that seek to develop themselves as photographers there are a couple of approaches you can take.  You can learn on your own by reading and photographing.  And if you are able to devote the time and energy to this process you will surely be successful.  However, it is more of a trial-and-error approach to learning photography and, let’s face it, we don’t all have the time or energy to adequately feed our passion.

Or, you can learn from someone who has already mastered the challenges you encounter along the way.  And one of the most effective and affordable ways of accomplishing this is through a workshop.

So I would like to share with you my top ten reasons for attending a workshop.

1.     Inspiration

Photography workshops give you the opportunity to focus just on photography and capturing the beauty that surrounds you.  The complications of your busy life are left at home or at work and for several stimulating days your existence is focused on one thing – capturing the beauty that surrounds you.

eastern_sierra_130712__SM36935_6_7_8-Edit

Continue reading “Ten Reasons to Take a Photography Workshop”

(972)

Mastering Sharpness – Depth of Field

One of the Four Pillars of a successful landscape photograph is Appropriate Sharpness. This article explains how to get sharp images and illustrates how a useful app – Lens*Lab – can help.

A topic that receives a lot of attention in our workshops is focus.  It’s incredibly important, so important that I consider Appropriate Sharpness to be one of the four pillars of a successful landscape photograph.  (For more, read Making a Photograph – The Four Pillars.)  Most of the questions center around depth of field and hyperfocal distance.  In fact, this is so important that I give a class on Appropriate Sharpness during just about every workshop.  Let’s start the discussion with Depth of Field

Depth of Field

This is the range, if you will, of objects in the view of your camera that are in focus.  Objects in front of this range are out of focus as well as objects behind the range.  A deep depth of field would have the flowers just a few feet from you camera and the distant mounts miles away all in focus.  The depth of field would then extend from a couple of feet to infinity and for all practical purposes would be infinitely deep.  This is often referred to as a ‘near-far composition.’

death_valley_sunrise_2012_rrpm_rc0A shallow depth of field may be just a couple of inches deep with nearer and more distant objects out of focus.  This is referred to as ‘Selective Focus.’

sego_palm_130629__SM36636

Continue reading “Mastering Sharpness – Depth of Field”

(3431)

12 Tips on Nighttime Photography

Nighttime photography poses its own challenges. Here are some helpful tips on preparing for and getting the most out of your hours spent in the dark.

Here are some tips on nighttime photography from an informative article by Dan Richards in a recent issue Popular Photography.  Credit for these tips goes to three great photographers – Matt Walker, Darren White and Mashahiro Miyasaka.  Here is the heart of what they shared…

  • Use a fast, wide lens.  Wide lenses slow the apparent motion of the stars.  Fast lenses gather more of the faint light.
  • Use a tripod.  The shortest practical exposure is 30 seconds.  Star trails require anything from tens of minutes to an hour or more.
  • Use an intervalometer.  This is essential for exposures greater than 30 seconds or if you plan to take a sequence of 30 second exposures.
  • Be aware of the weather.  An overcast sky will foil nighttime photography plans and a wind will wreak havoc with long exposures.
  • Be careful.  Scout the location ahead of time.  Use a headlamp, especially  one that has a red light so as not to destroy your night vision.
  • Include interesting foregrounds.  They can be silhouettes or you can light paint them.  You also have the option of creating a composite image by capturing a well exposed image of the foreground at low ISO and a high ISO image of the sky and then blending the two.
  • Focusing is really difficult.  Autofocus doesn’t work so you must use manual focus.  Pick the brightest star in the sky and use live view to focus on it (don’t change your focal length to focus; use the focal length you’ll be using for your image).  Another alternative is to focus on an object at infinity during the day and then marking the focus point with fluorescent tape so you can reset the same focus at night.  Again, use the focal length you will be shooting with as the infinity focus point changes as you zoom in and out.
  • Exposure is critical.  If you’re going to shoot starry  night photographs your exposure length will be 30 seconds (with a 24 mm lens or wider).  Shoot wide open and run tests with different ISO settings.  If  you’re going to use a long exposure to get star trails determine the ISO setting your 30 second exposure and then adjust ISO and f/stop to compensate for the length of exposure.  If your ISO is 6400 at f/2.8 and 30 seconds, if you want a 60 second exposure reduce your ISO to 3200.  A two-minute exposure requires an ISO of 1600.
  • Take a workshop.  That’s always good advice, no matter how experienced you are.  There’s always more to learn.
  • Don’t get disheartened.  This is not easy stuff but practice pays off.
  • Get in shape.  Good locations for night photography are going to be where there’s minimal light pollution and that’s a long ways away from city lights.
  • When the temperature is cold wrap a hand warmer around your lens to keep it from fogging over on those long half hour to hour exposures.

Well, that’s it.  Yea, and I confess; I threw in a couple of my tips too.

Hey, here are a couple of blog posts I’ve done on nighttime photography a while back there.

Exciting Nighttime Photography in 10 Easy steps

Nighttime Photography

So, go on out there and give it a try.  Have fun and be careful.


We always enjoy hearing from you so please feel free to leave a comment and share your experiences with us.

Also sharing this post on Google+, Facebook, Twitter and the like is also appreciated.

Join me on an upcoming workshop.  Click here for more details.

To see more of my photographs click here.

(914)

Mastering Composition – What?

Asking yourself, ‘What am I photographing?’ can lead to stronger images that communicate the excitement and inspiration you feel.

Composition is one of the four pillars of a strong landscape photograph (See Making a Photograph – The Four Pillars).  There are many approaches to mastering composition and certainly countless excellent books on the topic.  Many books discuss the elements of design and how they relate to composition – line, shape, form, texture, pattern and color.  Others go into the various rules of composition – rule of thirds, golden rule, leading lines, near / far, layers, frames, etc.

All of these rules or principles are very analytical and, I think, are necessary and useful building blocks.  Often creating a strong composition is very much of a problem-solving endeavor.  But in the end I believe the goal of the composition is to support what the artist wants to communicate through the image.  And this comes more from compositions that just feel right, not ones that are mechanically created from the rules.  That’s not to say that one is not aware of these principles as the composition is being worked out.  Rather these principles are like words in a sentence.  They are carefully chosen so that the sentence as a whole communicates the author’s message.  There are several techniques that lead us to this goal.  And one of them is to ask yourself, ‘’”What am I photographing?”

Continue reading “Mastering Composition – What?”

(1695)

Mastering Exposure – Expose to the Right

Expose to the Right – put it to the test by creating and comparing actual images.

Over the years there has been a lot of interest in the concept of ‘Expose to the right.’  This is something that is commonly done in digital photography where you intentionally overexpose an image.  The idea is that in digital images there is more information to work with in the brighter tonalities than there is in the darker.  And this will give you more to work with in the darkroom (Lightroom and Photoshop) which will result in a better image.

I’ve written several posts on this topic and if the concept is new to you please read these.  I’m not going to go into the theory here; that is spelled out in these posts.

Lightroom Tutorial – Expose to the Right

Expose to the right – Revisited

Now, I understand the theory.  I’m a computer guy; I had better understand it.  But I’ve always wondered if the promise of a better image actually worked out in real life.  So I did a test during our recent workshop to Big Sur.

Continue reading “Mastering Exposure – Expose to the Right”

(2292)

Big Sur Photography Workshop – Highlights

The November Big Sur photography workshop offered some of the best conditions I have ever seen. Read more about it.

We wrapped up the 2014 winter Big Sur workshop last night with a spectacular sunset at Point Lobos in Carmel, California.  But hold on.  Before we get to that I want to share with you some of the highlights from this week.

Let’s start with a funky photograph I got at the Santa Rosa Creek estuary way south down in Cambria, California.  I went up to Cambria a couple of days before the workshop started for a little exploring.  It paid off.  I call this one, “Get Your Ducks in a Row.”

big_sur_131103__SM38329

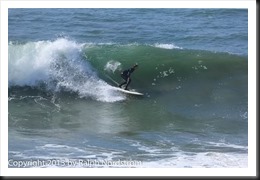
Also that same day I caught a surfer catching a wave.  The surf was definitely up.

big_sur_131103__SM38376

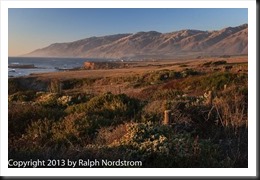
We start the workshop Monday in San Simeon at the southern end of the Big Sur coast.  To get it off to a good start we photographed sunset at the southern end of the impressive Big Sur headlands.  And we were treated to some equally impressive light.

big_sur_131104__SM38454

Continue reading “Big Sur Photography Workshop – Highlights”

(1974)

Color Management Made Simple – Color Space

Color Management is very important if you want to get prints that look as good as the images on your display. And understanding color space is fundamental to understanding color management.

Color Management is a very complex topic.  And it’s possible to get bogged down in a lot of technical details.  But it’s extremely important, especially if you want to print your photographs.  And it can be broken down into a few simple concepts.

On my workshops I often get asked questions about color management and the topic is huge and a bit technical to get into the details.  So I thought I’d give an overview of the topic in a few blog posts.  Who knows, maybe I’ll create a presentation that can be used during  a workshop.

Color Space

Let’s start with color space which is the whole reason we need color management.

A color space is all the colors that can be rendered using a given technology.  Think if it this way.  You all enjoyed coloring with crayons when you were young. And I don’t know  about you but I was always envious of my friends that had the big giant boxes of crayons with 120 different colors.  They had every color under the sun.

crayons_120cnt

We can think of the 120 crayon box as being the color space of the real world with every color under the sun.

Continue reading “Color Management Made Simple – Color Space”

(3667)

File Naming Strategies

Having an effective file naming convention may not be the most exciting thing but it can sure make your life a lot easier.

OK, so this isn’t a very sexy topic but having a strategy for naming your image files can save you a lot of grief down the road.  Let me run through what I’ve worked out over the years (and believe me, it’s taken several years to perfect this).

So it starts in Lightroom which gives you the option of renaming your files when you import them.  I’m following Scott Kelby’s recommendation here.  Let’s start with a file name as it is created in the camera.  It’s going to look something like this – _SM35116.CR2.  By the way, here’s the photograph that that goes with.

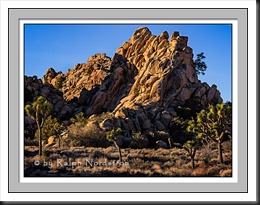
hidden_valley_130119

Hidden Valley (2013)

Continue reading “File Naming Strategies”

(2756)

Ansel Adams – The Making of 40 Photographs: Nevada Falls

Get insight into how Ansel Adams worked a scene to come up with his flawless and powerful compositions.

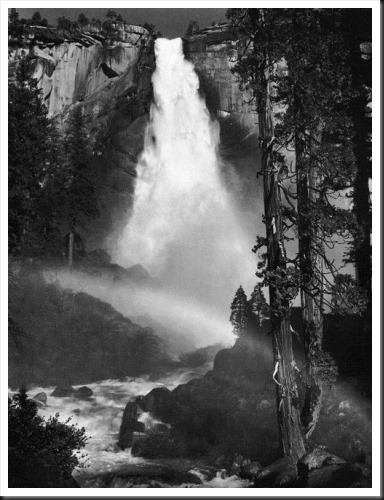
There’s so much to learn from studying Ansel Adams’ photographs, especially when you read what he has to say about them in “Examples – The Making of 40 Photographs”.  Each narrative seems to have its own distinct lesson.  The narrative associated with Nevada Falls is a study in working a composition.

nevada_falls


Continue reading “Ansel Adams – The Making of 40 Photographs: Nevada Falls”

(2665)