Is HDR really a four letter word or is it a powerful technique that let’s capture images we would have had to pass up in the past?
HDR. Many people respond to those three letters in shock and disgust. For them, HDR is synonymous with over the top processed images. It embodies all that they think is wrong with digital photography and the implied MANIPULATION that goes with it. It is a shocking insult on reality.
I’ve heard of photography contests that strictly forbid HDR and insist that all the photographs that are submitted be a single exposure. I’ve judged photography competitions in which the other judges viewed an HDR image that was just slightly over the top and felt it should be placed in the Manipulated category.
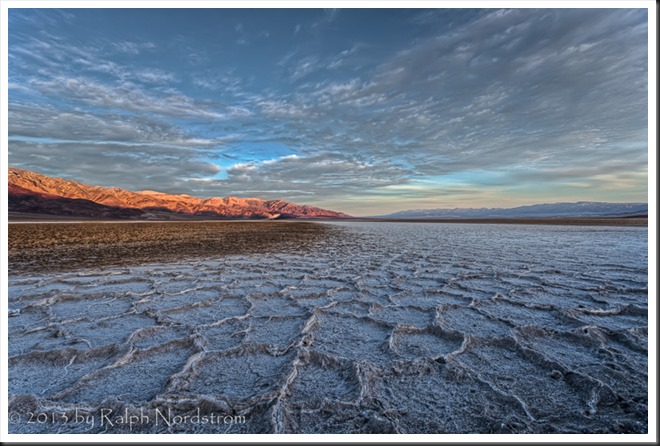
But the letters HDR stand for High Dynamic Range. Nothing sinister about that. It’s a situation frequently encountered when out photographing. That’s when the dynamic range of the scene, the difference between the darkest and brightest spots in the scene, is greater than the dynamic range our camera’s sensor is capable of capturing. When we encounter this situation we’re going to get clipping where the highlights or shadows or both lack detail, are blank. This is not a desirable situation. If there’s anything that’s shocking here it’s that the camera, that supposedly great recorder of reality, does not, cannot see what our eyes see. So what can be done about that?
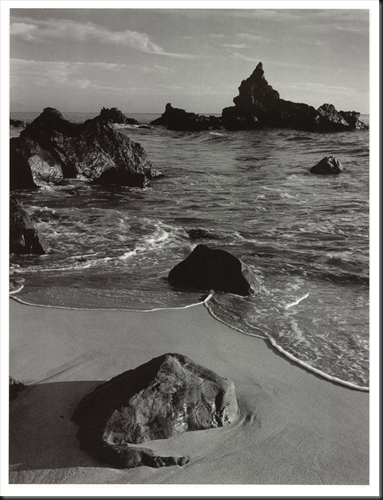
Well, if you’re shooting color film the answer is simple. Nothing. Move on. You’ll never be able to capture high dynamic range images on color film (without clipping) no matter how beautiful they are. If you are shooting black and white you can do what Ansel Adams did – water bath development. He exposed for the shadows and adjusted his development process and chemicals to get a proper development of his highlights. Sounds to me like he’s doing what we digital photographers do with HDR – adjusting the process to capture the full dynamic range (Read “How Ansel Adams did HDR”).
If you’re a digital photographer you can use the HDR technique – capture two or more images with bracketed exposures that span the dynamic range and then blend them together using software like PhotoMatix Pro. So where’s the problem? I mean, doesn’t that sound like a good thing, taking photographs we weren’t able to do at all with color film or with great difficulty with black and white?
But somehow HDR has become a four letter word in some circles. It’s become synonymous with that word that is so offensive to some – MANIPULATION. HDR images are manipulated images. Never mind that HDR can be used to create photographs that are a lot more like what our eyes see than what our cameras are even remotely capable of capturing.
Many of these same people that think that HDR is a four letter word are also prone to look down their noses and ask, “Did you PHOTOSHOP that picture.” Yes, with Photoshop we can easily drop in moons that weren’t there. And our photographs are cheap because of that. But it was OK in the days of film when the masters that we so admire did it. What’s the difference? Is it that it was hard when you did it with film and therefore to be admired but it’s easy with Photoshop? Don’t know. Could be.
And with HDR a similar thing might be happening. With the software tools that are available you don’t have to settle for recreating what our eyes saw, you can take your images over the top, give them that grunge look. Or that painterly look. It’s up to you and your vision.
Now, for the record (not that it’s important) I choose not to go for the grunge or painterly look in PhotoMatix Pro. I prefer to control the dynamic range, remove highlight clipping and return an image to Lightroom that I can continue to work on. And when it comes to moons in my photographs I prefer to be there when the full moon comes up behind my favorite bristlecone pine. It’s a lot more fun that way.
But I have no argument with those that drop moons or cloudy skies or whatnot in their photographs. And I have no argument with those that choose to express themselves with grunge HDR images. I readily confess that some of them are extremely effective with the grunge look. That’s just not my style, not my personality.
The only thing I think we all owe our viewers is to be honest about it. When people come into my booth at an art festival and ask if I manipulate or Photoshop my photographs I answer, “Of course.” I often go on to say, “Let me put it this way. I approach photography from the mindset of a painter. I want to have all the creative freedom a painter would have.’” And more than once, they have responded, “Oh, I get it. You’re an artist.”

Love it when that happens.
What do you think of HDR? What do you think of manipulation in Photoshop? Leave a comment. We’d love to hear your opinion.
If you found this post interesting or relevant please feel free to share it on Facebook, Twitter or the like.
Join me on an upcoming workshop. Click here for more details.
To see more of my photographs click here.
WordPress Tags: Four,Letter,Word,Many,images,photography,MANIPULATION,exposure,judges,image,category,High,Dynamic,Range,situation,difference,sensor,highlights,shadows,Move,Ansel,Adams,development,Read,technique,PhotoMatix,PHOTOSHOP,Could,tools,grunge,vision,Lightroom,argument,viewers,booth,festival,mindset,painter,freedom,artist,Love,competitions,chemicals,exposures,digital,camera,black,software,were,moons
(1995)
Like this:
Like Loading...
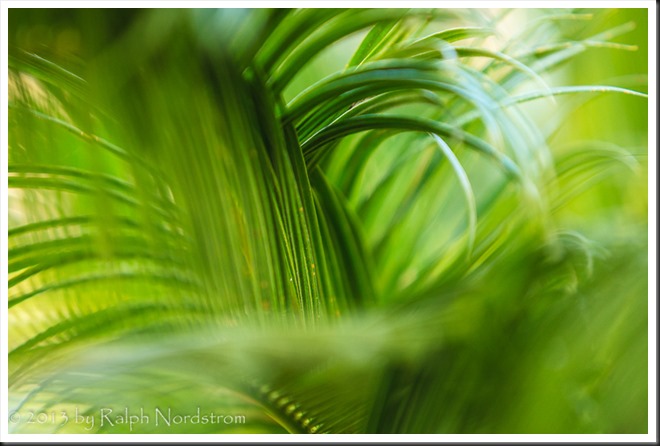
 A shallow depth of field may be just a couple of inches deep with nearer and more distant objects out of focus. This is referred to as ‘Selective Focus.’


