For some time now I’ve been using and teaching a process of working on photographs in Lightroom. It consists of basically four steps: manual adjustments, tonality adjustments, hue adjustments and finally saturation adjustments. Quite some time ago I had the brilliant idea of converting the image to black and white before doing the tonality adjustments. The technique I used was the B & W tab in Lightroom’s HSL group. Once the tonality adjustments were done, the image would be converted back to color and the process continue.
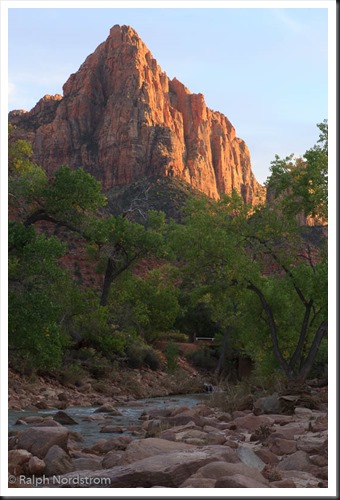
It didn’t work out because when I converted the image back to color, the colors were so oversaturated and unnatural that the image looked horrible. It was just easier to do the tonality adjustments on the color image. So I quickly gave up on that technique. But the other day I was reading an article in Popular Photography magazine that rekindled this idea. It took a different approach. It turned the image to black and white by setting the Saturation adjustment to -100. Now the author did this in the middle of the process but I thought that if I applied this to my process and did that at the start it just might work. So I was eager to give it a try. Let’s try it with this image of the Watchman in Zion National Park.
 This is the original raw file. I haven’t done anything to it yet. It doesn’t need any mechanical adjustments. These consist of removing spots, straightening the image, maybe some noise reduction and the final crop. But since none of these are required we can move on to the tonality adjustments.
Continue reading “Making a Photograph – A New Approach to Tonality Adjustments”
(4935)
