Over the years there has been a lot of interest in the concept of ‘Expose to the right.’ This is something that is commonly done in digital photography where you intentionally overexpose an image. The idea is that in digital images there is more information to work with in the brighter tonalities than there is in the darker. And this will give you more to work with in the darkroom (Lightroom and Photoshop) which will result in a better image.
I’ve written several posts on this topic and if the concept is new to you please read these. I’m not going to go into the theory here; that is spelled out in these posts.
Lightroom Tutorial – Expose to the Right
Expose to the right – Revisited
Now, I understand the theory. I’m a computer guy; I had better understand it. But I’ve always wondered if the promise of a better image actually worked out in real life. So I did a test during our recent workshop to Big Sur.
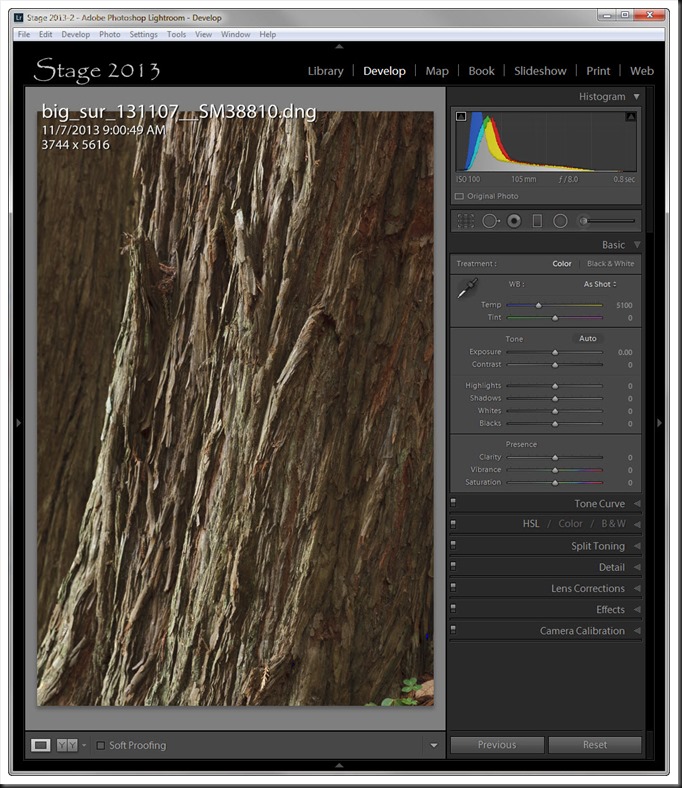
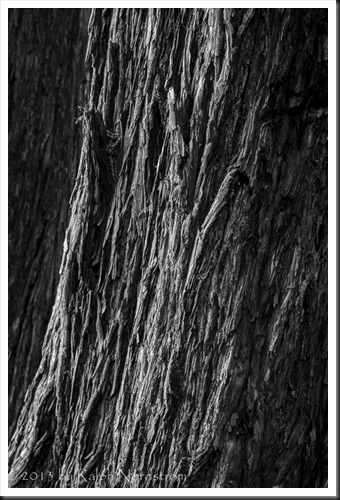
I photographed the bark of an interesting redwood tree along the Old Coast Road. Here it is.
Not all photographs are candidates for expose to the right but this one definitely was. How did I know? The histogram. It doesn’t indicate any exposure problems, no shadow or highlight clipping. But it’s bunched up to the left, the dark side. Now this may be the tonality I want in the final photograph but because the histogram is way to the left I can get more information to work if I increase the exposure. I can do that without fear of getting any highlight clipping and that will move the histogram to the right, the bright side.
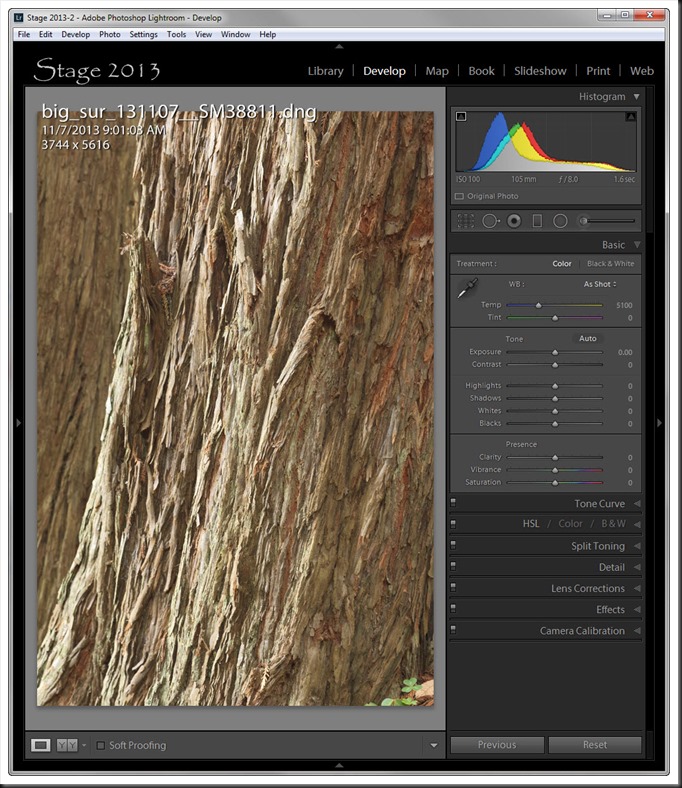
So, using exposure compensation, I took another exposure at +1 ev; that is, one stop overexposed. Here are the results.
Notice what happened to the histogram. It moved to the right as expected and there is still no highlight clipping. But because the image is lighter it is starting to look a little washed out. And that’s what you get when you expose to the right, an overexposed image.
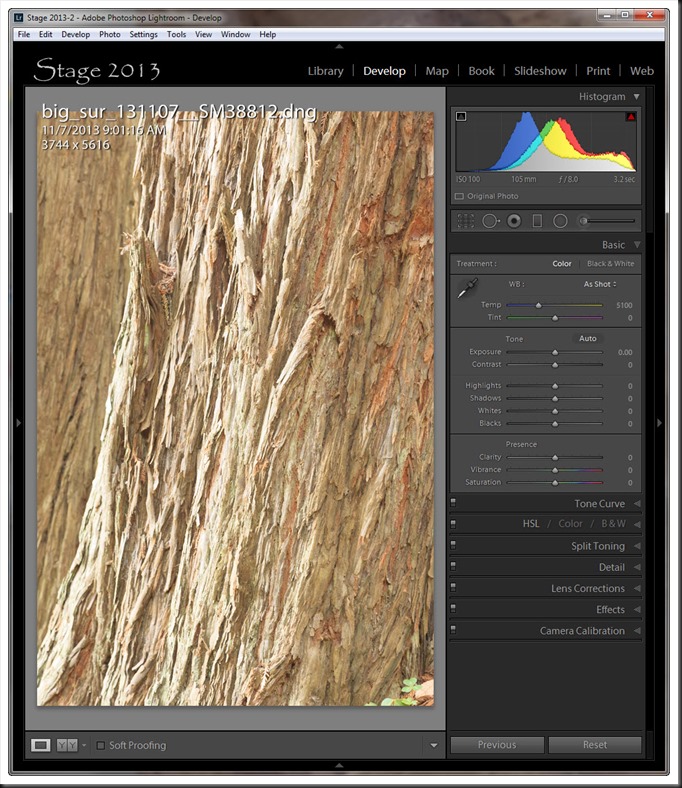
It looks like we can take this one stop further so I made a third exposure at +2 ev, or two stops overexposed. And here are the results.
The histogram is pretty much as far to the right as we dare go and the image is really washed out now.
So much for the work in the field. It’s now time to do some darkroom work. What I’ll be demonstrating is done entirely in Lightroom (I’m sure you figured that out already).
Lightroom Step 1
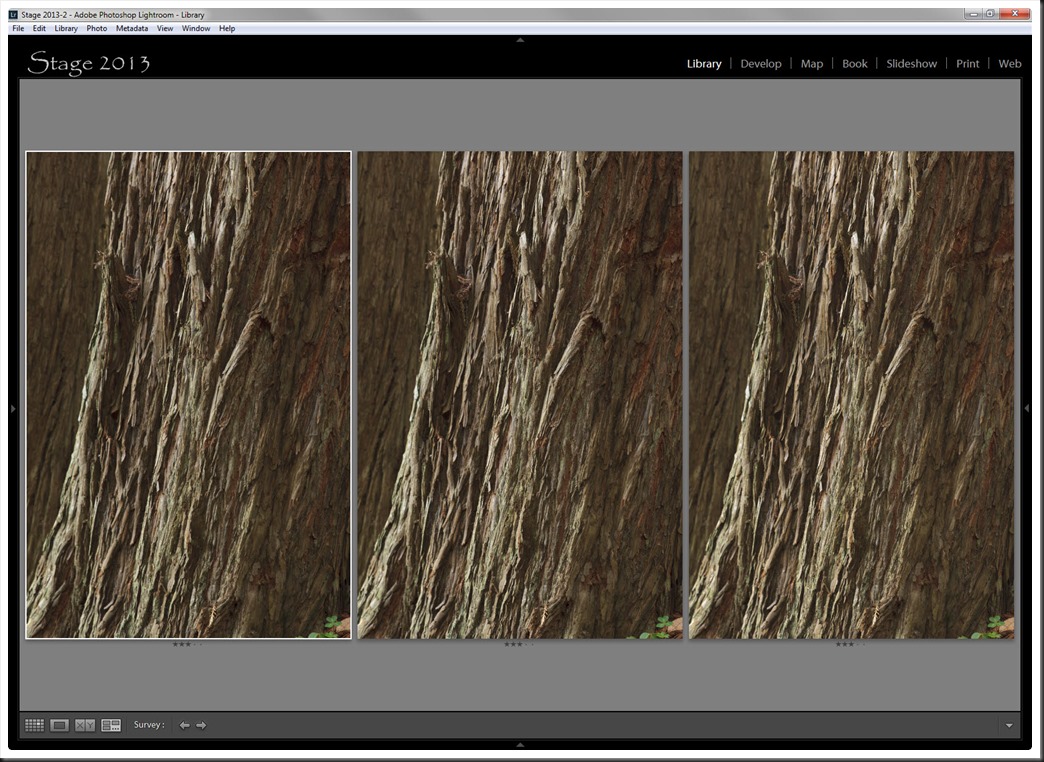
The first step is to correct for the overexposures. So the +1 ev exposure gets a –1 Exposure adjustment in Lightroom. Same for the +2 ev overexposure. It gets a –2 Exposure adjustment in Lightroom. And here are the results.
On the left is the 0 ev image and on the right is the +2 ev image. You can see that this simple Lightroom adjustment of correcting the overexposure results in three images that are very similar in overall tonality. But if you compare the 0 ev (left) image to the +1 and +2 images you can see that there is more contrast in the +1 and even more contrast in the +2. Already it’s apparent that the +1 and +2 images are better ones to work with.
Lightroom Step 2
The next step I want to show you is one I do at the start of my workflow – set a black point. Yep, I have a blog post for that too….
Making a Photograph – Black and White Points
I set the black point on all three images by adjusting the Blacks slider in Lightroom. They each required different amounts of adjustment but the resulting black points were identical.
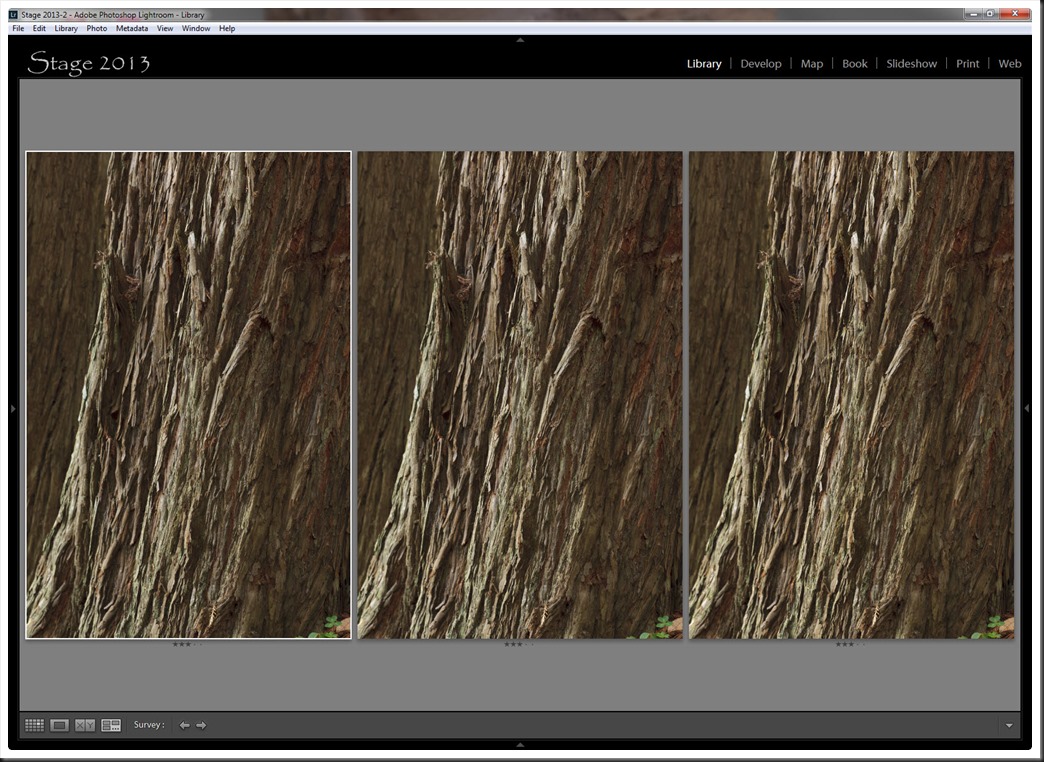
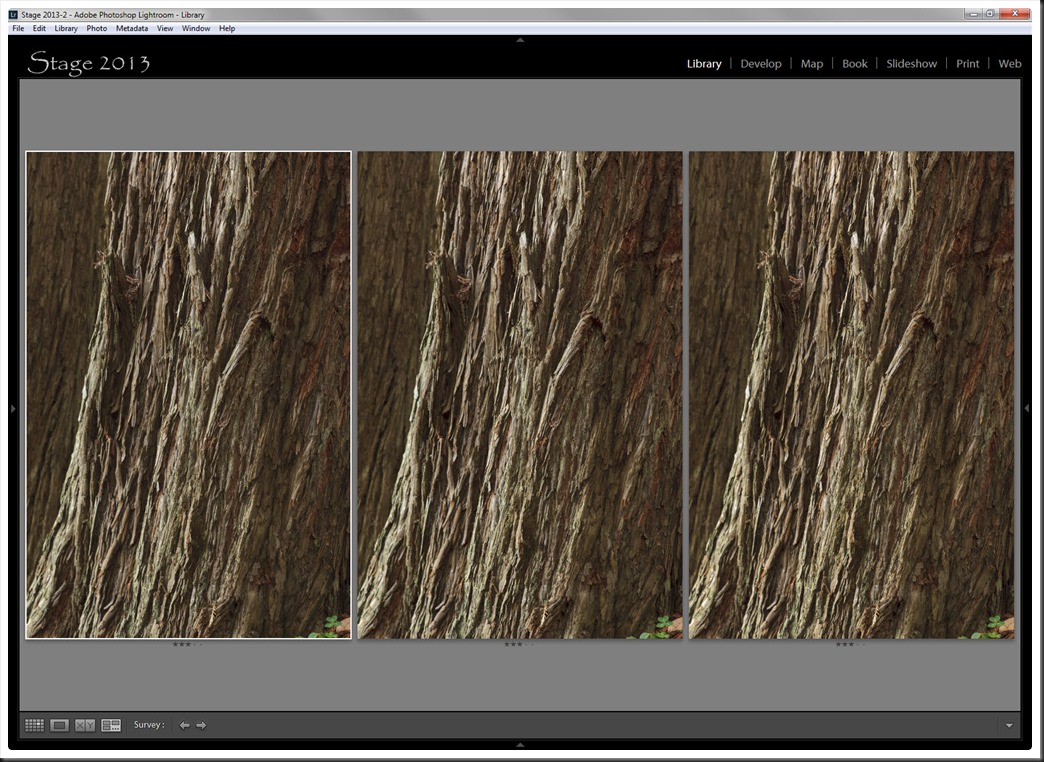
If you scroll back and forth between the previous and current photographs you’ll see that there’s more definition to the 0 ev image but not enough to make it stand out. The other two images gained even more definition and the +2 ev image is starting to look noticeably better than the +1 image.
Lightroom Step 3
One of the great adjustments in Lightroom these days is Clarity. It basically does local contrast adjustments and it can really make an image spring to life. So the last step was to add +25 Clarity to each of the images.
Again, scroll back and forth between this and the previous image to see the difference. It’s subtle but still very real. And with this final adjustment the results are in. It’s clear that the best image is the +2 ev photograph. It almost looks like the 0 and +1 images are out of focus although if you examine them carefully you’ll see they are not. But the +2 image is much more dramatic. It has good definition in the shadows and highlights. This photograph is not done yet but the +2 ev image is the one I would choose to go forward with.
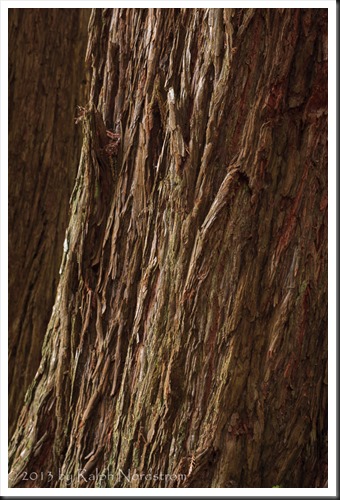
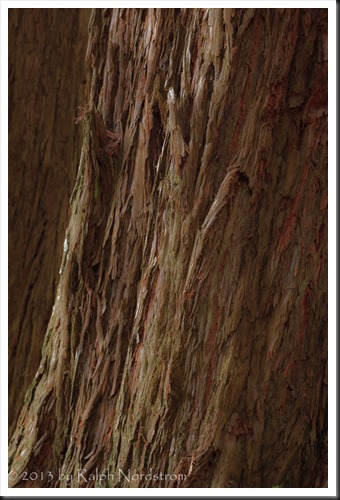
Now I can work on getting it to express what I want it to say. I can make it warm and inviting with lots of texture and depth .
I can soften it to give it an impressionistic effect.
Or I can create a black and white with energy and drama.
What I end up doing with it is up to me. But the +2 ev exposure gave me everything I needed to allow me to pursue my creative vision.
Summary
To summarize, when your image has a histogram that is well away from the right edge at 0 ev, it is a candidate for expose to the right. Start increasing your exposure (using positive exposure compensation) until the histogram has moved to the right but without highlight clipping.
Next, in Lightroom the first thing you’ll want to do is reverse the overexposure you applied in your camera by an equal amount using the Exposure adjustment. For example, if you used a +1.7 exposure compensation in your camera you’ll want to use a –1.7 Exposure adjustment in Lightroom.
From that point on you can follow your regular workflow.
I hope you not only enjoy this technique but it helps you along your way to producing outstanding photographs that express your creative vision.
If you found this post useful please feel free to share it on Facebook or email it to your friends.
We do photography workshops. Come on out and join us. Click here to check us out.
You can also check out our photography. Click here.
(2356)

Ralph , thanks for this demonstration of expose to the right. I’ve heard the concept several times, but have never had anyone show how it improves the image. Happy birthday early.
Larry