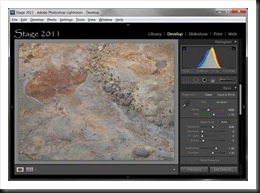
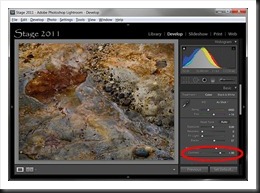
Expose to the right is a powerful technique for capturing the most information in your raw files. But processing these images can be a bit daunting at first.
The post I wrote on Expose to the Right about a year ago is one of the most popular on this blog. I wrote it after a workshop when I suggested this technique and one of the participants complained the photographs looked horrible. I still use this technique but my workflow in Lightroom continues to evolve.
 Recall that Expose to the Right means to overexpose your image so that the histogram shifts toward the right edge. It is important not to overexpose so much that you introduce highlight clipping. I like to have a histogram that is positioned a little to the right of center as seen here. When you expose to the right you can end up with an image that is overexposed by anywhere from 1/3 to a stop or two, depending on the situation.
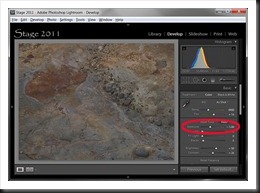
 In the first post I suggested that you can ‘normalize’ the exposure in Lightroom with the Exposure adjustment. If you overexposed by a stop you can start by decreasing Exposure adjustment in Lightroom by one stop. This will have the effect of moving the histogram back toward the center or even to the left of center. This gives you an exposure closer to what the camera’s light meter selected.
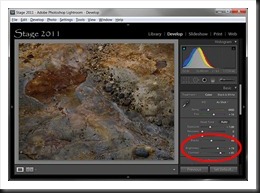
 From there you can continue with your regular workflow. Here’s an example of some additional adjustments: Blacks to set a black point, Contrast to add interest (contrast is always more interesting than flat) and Brightness to liven it up a little. There are many adjustments you might perform but these few simple ones serve to illustrate the point.
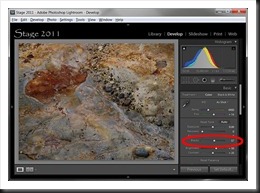
 But another technique would be to take the opposite approach. Instead of normalizing the exposure, start by setting the black point with the Blacks adjustment. This has a different effect on the histogram. Instead of the entire histogram sliding towards the left, the shadow tail is extended without much change in the mid-tones or highlights. This technique expands the dynamic range of the photograph.
 You can further expand the dynamic range by adding contrast. With both shadow and highlight areas to work on the Contrast adjustment both brightens and further darkens the image.
In practice you can try both techniques. Just create two virtual images from the original file and apply one technique to one and the other technique to the other. Often the first few adjustments you make on an image have an influence on the finished photograph. So compare the two and decide which one you want to continue with.
This is not about whether one technique is better than the other but rather to give you more options when working with the photographs that you have exposed to the right.
We do photography workshops. Come on out and join us. Click here to check us out.
You can also check out our photography. Click here.
(2312)
Like this:
Like Loading...

