Mastering Night Photography – Focusing

Solve your focusing challenges in nighttime photography.

A lot of people are doing nighttime photography these days including yours truly. There are many good sources of information on nighttime photography. I’ve written a few blog posts myself (Exciting Nighttime Photography in 10 Easy Steps). Nighttime photography falls into two categories – star trails and night sky. In this post I want to elaborate on something I’ve discovered recently with regards to night sky photography.

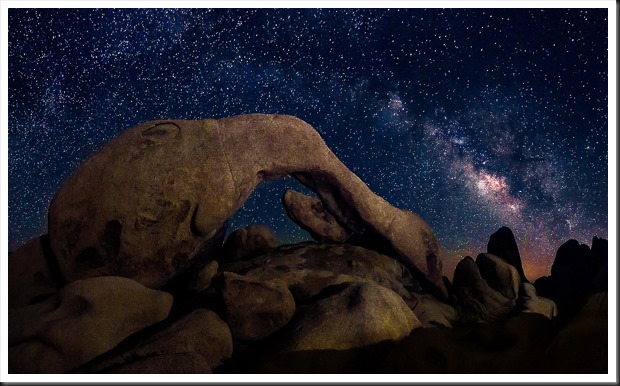
double-arch-joshua-tree-140628Nighttime photography is pretty much like daytime photography. The biggest difference is you can’t see what you’re doing. Let’s run through a quick comparison of camera settings in daytime and nighttime photography.

Continue reading “Mastering Night Photography – Focusing”

(3625)

Mastering Light – Sunrise and Sunset

Getting the most out of sunrises and sunsets.

We all love a beautiful sunset, especially when the clouds glow with color. The same happens with sunrise although there may not be as many of us up to enjoy it. There’s something special about sunsets and sunrises that bring joy and wonder to our hearts.

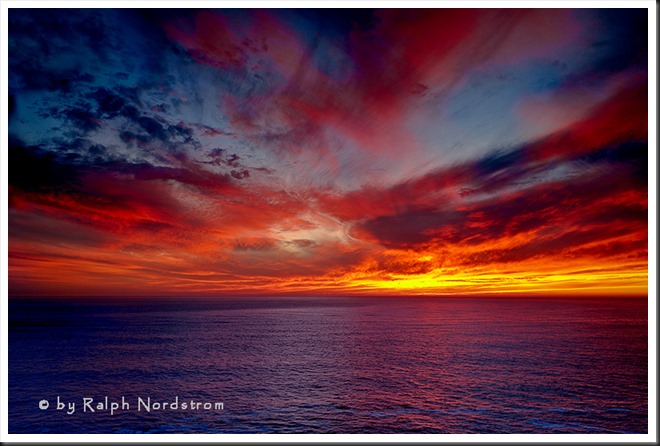
sunset_marin_headlands_2010

My personal favorite is sunrise. I like to arrive while it’s still dark and set up my camera in the cold, crisp morning air. I like standing under the fading stars waiting for the sun to come. I like the stillness of the earth at that time of day. For me, it’s magical.

To get the most out of sunrises and sunsets, it’s helpful to know what’s going on in the sky. (I’ll talk just about sunrises now but much of the same things apply to sunsets.) A lot depends on the clouds. If the sky is completely overcast then you’re not likely to have much of a sunrise or sunset. If the sky is clear then you’ll have a totally different experience. But if the sky is strewn with scattered clouds you may be in for a wonderful experience.  And yet it’s hard to predict.

Continue reading “Mastering Light – Sunrise and Sunset”

(4826)

Photo Tips – Getting Great Exposures the Easy Way

Always shooting in Automatic mode? Here’s an easy way to improve your photographs without having to bother with all the technical details.

If you’re a person who’s interested in just taking pictures and don’t want to be bothered with all the technical details, you are probably photographing with your camera set to automatic mode. Often times automatic mode is indicated by a green box. Probably the handiest feature of automatic mode is that the camera makes all the decisions for you. All you have to think about is getting the people you’re photographing in the frame and pressing the shutter. The camera does everything else.

But the problem is that the camera doesn’t always get it right. Often times it will overexpose parts of the image making them look washed out. But there’s a simple way to avoid this without mastering all the complicated technical details of shooting in manual mode. And that is P mode.

Using P Mode

The P and P mode stands for Programmed Automatic. In P mode the camera allows you to make some of the decisions while it makes the rest. You get to choose whether or not to use flash, and set the ISO, exposure compensation and white balance. The camera sets the f-stop and shutter speed.

Let’s take these controls one by one. Let’s start with flash. You can decide whether you want to use flash or not. If you’re shooting in bright daylight or even on a cloudy day you probably don’t need flash. But if it’s a little darker you can always choose to turn the flash on. If you don’t know how to turn your flash on or off you’ll need to consult your camera’s manual.
home_140907_IMG_9704-6 Continue reading “Photo Tips – Getting Great Exposures the Easy Way”

(1997)

Color Management Made Simple – From Camera to Computer

Read the second installment in a series of articles on Color Management – taking the image from the camera to your computer.

If Color Space can be described as a box of Crayons as we suggested in  Color Management Made Simple – Color Space,  what else do we need to know about Color Management?  Well, Color Management is essentially about getting the right colors – and here’s the most important word – consistently.

Let’s spend a few moments talking about the ‘right color.’  (I’m inclined to add, ‘whatever that is.’)  The story begins when you press the shutter.  Let’s suppose you are photographing the beautiful redwoods of Northern California.

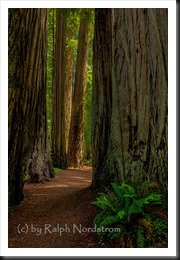
redwoods_130528__SM36093_4_5_6_7-Edit

The scene is full of rich browns and oranges and vibrant greens.  We can say that these are the right colors, these are the colors you want.  You set up your camera and snap a picture and your sensor captures these colors, pretty much just as they are (the sensor is playing with pretty much the full big box of 120 Crayons). The camera’s processor does its thing and the image is saved in a file to your memory card.  Eventually we’re going to view the photograph on our computer’s monitor and we just might be a bit disappointed.

Continue reading “Color Management Made Simple – From Camera to Computer”

(1681)