“There Are No Rules of Composition”

Take your photography beyond the rules of composition.

It is often said that there are no ‘rules’ of composition. And yet, there they are – Rule of Thirds, Golden Rule, Leading Lines, S-Curves, Layers, Off Center, Symmetry, Perspective, Lines of all sorts and on and on. And why is it that when so many fellow photographers comment on one of your photographs they comment about the rules of composition and not what the image expresses? In fact, most books and courses on composition begin by stating that there are no rules of composition before launching into an exhaustive analysis of, yep, the rules of composition. And of course, it’s not fashionable to refer to the rules of composition as rules anymore because ‘there are no rules of composition.’

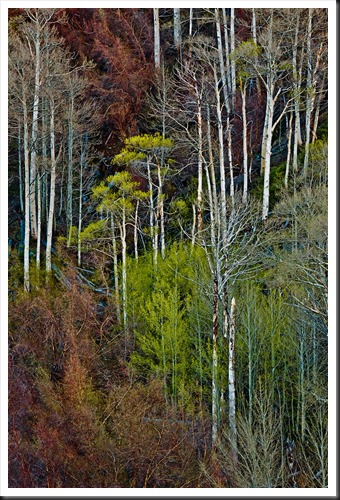
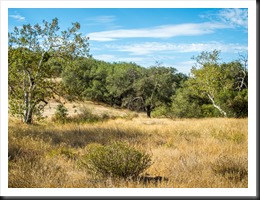
aspen_spring_2011

And yet we diligently study them all the same.

Continue reading ““There Are No Rules of Composition””

(344)

Making a Photograph – A New Approach to Tonality Adjustments

Watch as a photograph of an icon of Zion National Park is made.

For some time now I’ve been using and teaching a process of working on photographs in Lightroom. It consists of basically four steps: manual adjustments, tonality adjustments, hue adjustments and finally saturation adjustments. Quite some time ago I had the brilliant idea of converting the image to black and white before doing the tonality adjustments. The technique I used was the B & W tab in Lightroom’s HSL group.  Once the tonality adjustments were done, the image would be converted back to color and the process continue.

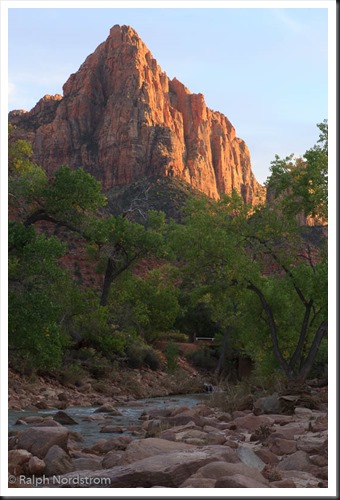
It didn’t work out because when I converted the image back to color, the colors were so oversaturated and unnatural that the image looked horrible. It was just easier to do the tonality adjustments on the color image. So I quickly gave up on that technique. But the other day I was reading an article in Popular Photography magazine that rekindled this idea. It took a different approach. It turned the image to black and white by setting the Saturation adjustment to -100. Now the author did this in the middle of the process but I thought that if I applied this to my process and did that at the start it just might work. So I was eager to give it a try. Let’s try it with this image of the Watchman in Zion National Park.

utah_141010__SM32783 This is the original raw file. I haven’t done anything to it yet. It doesn’t need any mechanical adjustments. These consist of removing spots, straightening the image, maybe some noise reduction and the final crop. But since none of these are required we can move on to the tonality adjustments.


Continue reading “Making a Photograph – A New Approach to Tonality Adjustments”

(4925)

Creating Images with Impact – Black Point

Add Impact to your Images by setting a black point. Here’s the how and why.

In this series of blog posts were talking about how to create Images with Impact. You know what I’m talking about. These are those images that really grab our attention, that capture our imaginations. There’s something special about them and it doesn’t have to be a mystery how they are created. There are a few simple techniques that you can use in Lightroom and Photoshop to add impact to your images. Now if you don’t use Photoshop, you can still do everything were talking about in Lightroom.

In the first article we talked about utilizing the full dynamic range of your medium. This is something Ansel Adams taught in his books and classes that was an essential element of his stunning landscape photographs. As he developed his technique which became known as the Zone System, the primary goal was to use the full dynamic range of his medium which, in his case, was the black and white print.

So we talked about that technique first because it is the most appropriate place to start. I do want to add that in color photography or color prints not every print benefits from a white point but virtually all prints benefit from a black point – which is what we want to talk about in this article.

IMG_0012-2

What exactly is a black point? It is small portions of the print that are pure black. If you’re printing on paper than these are small portions that are the blackest black that the combination of paper and ink can achieve. As a side note, different combinations of paper and ink achieve different levels of blackness. But regardless of the combination you use, the blackest black that can be achieved is your black point.

You want to keep the black point areas very, very small because they have no detail. And generally speaking we like to see detail in our shadows, another guideline that I picked up from studying Ansel Adams. But you don’t want to eliminate black points, that is, in most cases. There are a few exceptions to this rule that I will talk about later.

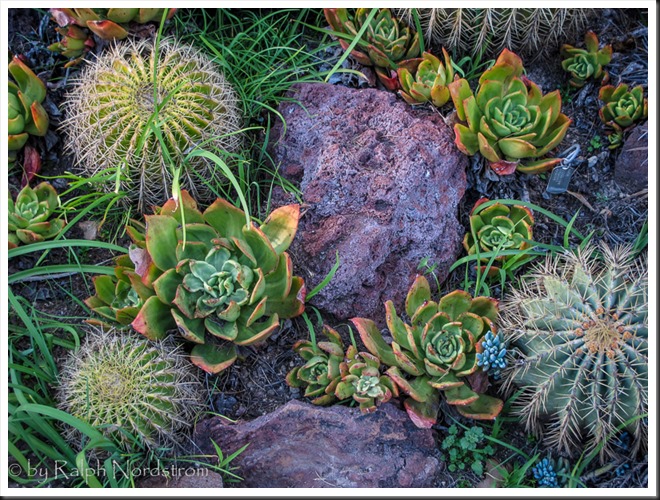
Let’s take a look at the before and after images of our photograph. I shot this at the Huntington Library in South Pasadena a few weeks ago. It’s in their incredible cactus garden – endlessly fascinating.

Continue reading “Creating Images with Impact – Black Point”

(8327)

Creating Images with Impact – Dynamic Range of the Medium

The pros create dramatic photographs, images with impact. You can add impact to your images too using these simple Lightroom techniques.

We’ve all seen those photographs that stop us in our tracks, that inspire us, that speak to us. Some photographs seem to have a special power, a special presence. Often times we hear ourselves saying, “Wow.” They have qualities that make them stand apart from other photographs. These are images with impact.

The masters of landscape photography seem to have the ability to capture a special quality of light in their photographs. It doesn’t matter whether they use film or shoot digital, their images stand out.

There are certain things about these images that do more than just appeal to us – we are drawn into to them. They capture our imaginations, stir our interests and perhaps show us moments in nature we could only hope to experience. We want to linger with them, explore them, take them in, get lost in them.

Without a doubt these photographs have compositions that are very strong, are bathed in fantastic light and have technical qualities of exposure and sharpness that are perfect. These are all decisions that the artist makes in the field, decisions that are critical to a strong image.

In the days of film, a good portion of the magic was done in the darkroom. That’s where their genius really became apparent. And it hasn’t changed today. We don’t actually have dark rooms to work in, closed rooms with the strange array of mysterious orders and the soft, dim yellow lighting. Today we have powerful software running on even more powerful computers. But really, how is that different from what the film Masters did in the darkroom? I don’t believe it is. I can’t think of anything that’s been done with “Photoshopped” photographs that hasn’t already been done in the darkroom. It’s probably a lot easier to do it in Photoshop but in the end, both the chemical darkroom and the electronic darkroom serve the same end, that being creating those “Wow” images.

In this series of posts I want to spend more time considering some techniques you can apply in the darkroom that will add impact to your images.

Use the Full Dynamic Range of Your Medium

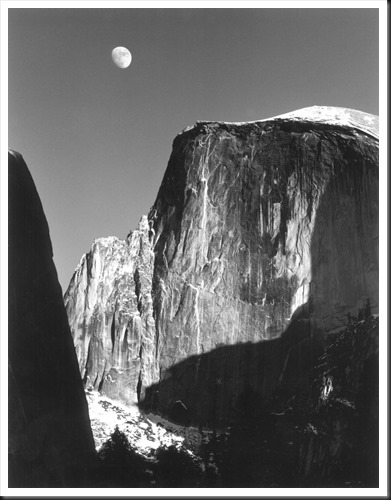
The first darkroom technique I would like to discuss is the importance of using the full dynamic range of your medium. This is not something new. When Ansel Adams developed the zone system it was precisely for this purpose – to use the full dynamic range of the black and white negative and ultimately the black and white print. But what exactly does it mean to use the full dynamic range of the medium. Let me illustrate with an Ansel Adams image I have loved for many years, one I’m privileged to be able to live with in my home – “Moon and Half Dome.”
Adams-moon-and-half-dome-1960

In this exquisite photograph if you are able to examine an original closely you will notice that the shadow on the left may look like it is totally black but actually there is subtle detail. However, there are some very small areas that are pure black. Also, the moon and the bright parts of Half Dome may look like they are pure white but a closer look will reveal detail in these areas also. This photograph takes full advantage of the full dynamic range of the paper, from the blackest black to the whitest white.

Continue reading “Creating Images with Impact – Dynamic Range of the Medium”

(4731)

Mastering Night Photography – Focusing

Solve your focusing challenges in nighttime photography.

A lot of people are doing nighttime photography these days including yours truly. There are many good sources of information on nighttime photography. I’ve written a few blog posts myself (Exciting Nighttime Photography in 10 Easy Steps). Nighttime photography falls into two categories – star trails and night sky. In this post I want to elaborate on something I’ve discovered recently with regards to night sky photography.

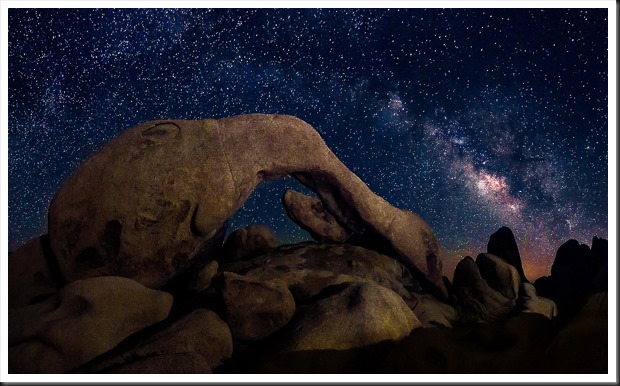
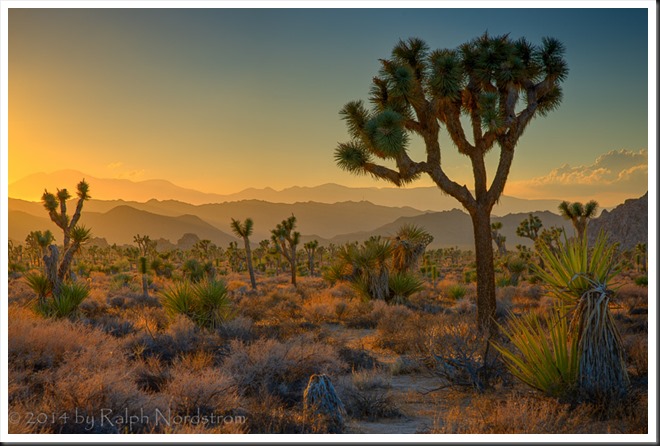
double-arch-joshua-tree-140628Nighttime photography is pretty much like daytime photography. The biggest difference is you can’t see what you’re doing. Let’s run through a quick comparison of camera settings in daytime and nighttime photography.

Continue reading “Mastering Night Photography – Focusing”

(3623)

Photo Tips – Getting Great Exposures the Easy Way

Always shooting in Automatic mode? Here’s an easy way to improve your photographs without having to bother with all the technical details.

If you’re a person who’s interested in just taking pictures and don’t want to be bothered with all the technical details, you are probably photographing with your camera set to automatic mode. Often times automatic mode is indicated by a green box. Probably the handiest feature of automatic mode is that the camera makes all the decisions for you. All you have to think about is getting the people you’re photographing in the frame and pressing the shutter. The camera does everything else.

But the problem is that the camera doesn’t always get it right. Often times it will overexpose parts of the image making them look washed out. But there’s a simple way to avoid this without mastering all the complicated technical details of shooting in manual mode. And that is P mode.

Using P Mode

The P and P mode stands for Programmed Automatic. In P mode the camera allows you to make some of the decisions while it makes the rest. You get to choose whether or not to use flash, and set the ISO, exposure compensation and white balance. The camera sets the f-stop and shutter speed.

Let’s take these controls one by one. Let’s start with flash. You can decide whether you want to use flash or not. If you’re shooting in bright daylight or even on a cloudy day you probably don’t need flash. But if it’s a little darker you can always choose to turn the flash on. If you don’t know how to turn your flash on or off you’ll need to consult your camera’s manual.

home_140907_IMG_9704-6 Continue reading “Photo Tips – Getting Great Exposures the Easy Way”

(1996)

Making a Photograph – Two Sides of the Coin

Landscape photography in the digital age requires an unlikely but necessary blending of technical and creative skills. But keep life simple; don’t let the technical drown out the creative.

I recently read an article by William Neill in the September Outdoor Photography magazine titled “Need to Know” that really resonated with me.  His main point is, don’t let the acquisition of gear and techniques interfere with the experience.  There’s so much information out there, so many people offering advice on techniques for composing, exposing and post processing.  But in Neill’s journey he has developed what he calls, ‘… a simple but effective tool set.”

A foundation of gear and technique is important in capturing the experience.  But it is the experience that is what we’re out there for, not histograms or depth of field or leading lines.

joshua_tree_140920__SM32515_6_7_8_9-Edit


Continue reading “Making a Photograph – Two Sides of the Coin”

(783)

How to Photograph the Coastal Redwoods

The Coastal Redwoods of Northern California have a beauty that is inspiring. But capturing them in a photograph is much harder than it may seem. Come with me to explore ways to capture their grandeur.

California is blessed with two species of redwoods, the Giant Sequoia (Sequoia giganteum) of the Sierra Nevada Mountains and the Coastal Redwoods (Sequoia semperverins) along the California coast from the Oregon border to 150 miles south of San Francisco.  These awe-inspiring trees are both a joy and a challenge to photograph.  I recently spent a week in Crescent City in Northern California photographing the Coastal Redwoods and leading a photography workshop there.  I’d like to pass along some of the techniques we employed to capture photographs that do these majestic trees justice in breathtaking but often very difficult light.

Continue reading “How to Photograph the Coastal Redwoods”

(7398)

Mastering Sharpness – Fuzzy Photos

How many things can go wrong that can render an image fuzzy.

How many times have you returned from a shoot with some photographs you are really excited about only to find out they are out of focus.  That’s always very disappointing and often frustrating.  And it happens all too often to me.  At the Joshua Tree Gathering this past March someone asked the question, ”How many ways can a photograph be out of focus,” and that got me thinking.  This would be a fun article to write.

But let’s get something straight from the start.  Not all ‘out of focus’ photographs are out of focus.  They may not be sharp but that can come from two causes.  They can actually be out of focus or they can be blurry.  This may seem like a subtle distinction but it’s an important one.  So let’s take them one by one and explore their causes and solutions.

But before we do, I want to make another very important point.  A photograph that is out of focus or blurry is not always a bad thing.  Often times the artist does it intentionally because that is his or her artistic vision.  When it’s done intentionally to create an expressive photograph then it’s not only OK, it’s necessary.  It’s when it’s unintentional that we get frustrated and loose great moments.

But now, let’s get into the details.  We’ll talk about blurs first.

Continue reading “Mastering Sharpness – Fuzzy Photos”

(1056)

Mastering Sharpness – Depth of Field

One of the Four Pillars of a successful landscape photograph is Appropriate Sharpness. This article explains how to get sharp images and illustrates how a useful app – Lens*Lab – can help.

A topic that receives a lot of attention in our workshops is focus.  It’s incredibly important, so important that I consider Appropriate Sharpness to be one of the four pillars of a successful landscape photograph.  (For more, read Making a Photograph – The Four Pillars.)  Most of the questions center around depth of field and hyperfocal distance.  In fact, this is so important that I give a class on Appropriate Sharpness during just about every workshop.  Let’s start the discussion with Depth of Field

Depth of Field

This is the range, if you will, of objects in the view of your camera that are in focus.  Objects in front of this range are out of focus as well as objects behind the range.  A deep depth of field would have the flowers just a few feet from you camera and the distant mounts miles away all in focus.  The depth of field would then extend from a couple of feet to infinity and for all practical purposes would be infinitely deep.  This is often referred to as a ‘near-far composition.’

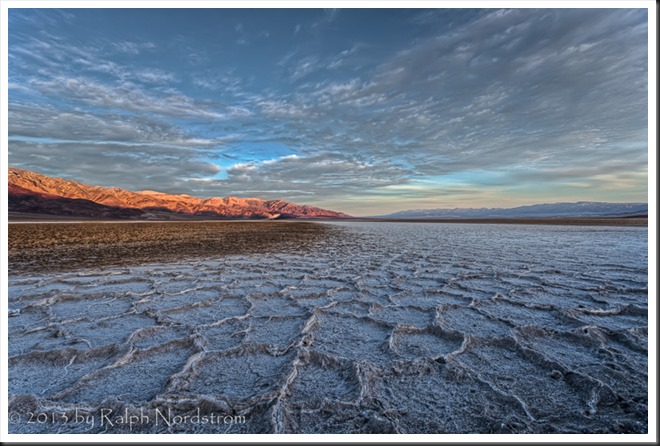
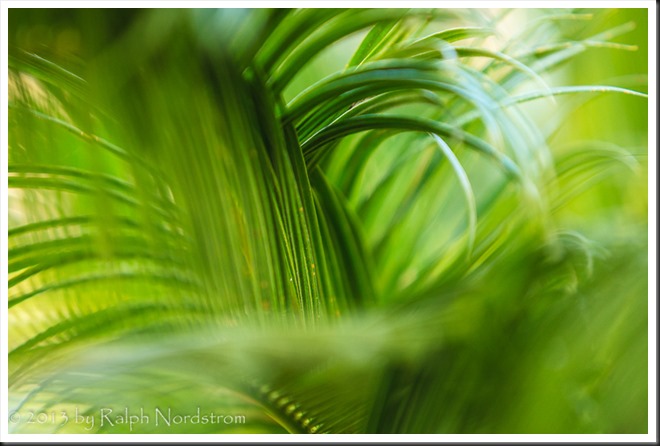
death_valley_sunrise_2012_rrpm_rc0A shallow depth of field may be just a couple of inches deep with nearer and more distant objects out of focus.  This is referred to as ‘Selective Focus.’

sego_palm_130629__SM36636

Continue reading “Mastering Sharpness – Depth of Field”

(3431)