Mastering Night Photography – Focusing

Solve your focusing challenges in nighttime photography.

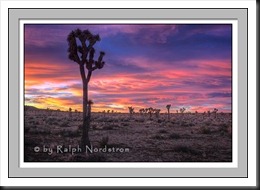
A lot of people are doing nighttime photography these days including yours truly. There are many good sources of information on nighttime photography. I’ve written a few blog posts myself (Exciting Nighttime Photography in 10 Easy Steps). Nighttime photography falls into two categories – star trails and night sky. In this post I want to elaborate on something I’ve discovered recently with regards to night sky photography.

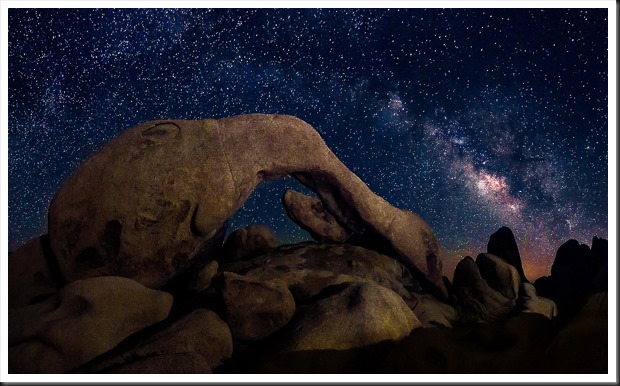
double-arch-joshua-tree-140628Nighttime photography is pretty much like daytime photography. The biggest difference is you can’t see what you’re doing. Let’s run through a quick comparison of camera settings in daytime and nighttime photography.

Continue reading “Mastering Night Photography – Focusing”

(3625)

Photo Tips – Getting Great Exposures the Easy Way

Always shooting in Automatic mode? Here’s an easy way to improve your photographs without having to bother with all the technical details.

If you’re a person who’s interested in just taking pictures and don’t want to be bothered with all the technical details, you are probably photographing with your camera set to automatic mode. Often times automatic mode is indicated by a green box. Probably the handiest feature of automatic mode is that the camera makes all the decisions for you. All you have to think about is getting the people you’re photographing in the frame and pressing the shutter. The camera does everything else.

But the problem is that the camera doesn’t always get it right. Often times it will overexpose parts of the image making them look washed out. But there’s a simple way to avoid this without mastering all the complicated technical details of shooting in manual mode. And that is P mode.

Using P Mode

The P and P mode stands for Programmed Automatic. In P mode the camera allows you to make some of the decisions while it makes the rest. You get to choose whether or not to use flash, and set the ISO, exposure compensation and white balance. The camera sets the f-stop and shutter speed.

Let’s take these controls one by one. Let’s start with flash. You can decide whether you want to use flash or not. If you’re shooting in bright daylight or even on a cloudy day you probably don’t need flash. But if it’s a little darker you can always choose to turn the flash on. If you don’t know how to turn your flash on or off you’ll need to consult your camera’s manual.
home_140907_IMG_9704-6 Continue reading “Photo Tips – Getting Great Exposures the Easy Way”

(1997)

Mastering Sharpness – Depth of Field

One of the Four Pillars of a successful landscape photograph is Appropriate Sharpness. This article explains how to get sharp images and illustrates how a useful app – Lens*Lab – can help.

A topic that receives a lot of attention in our workshops is focus.  It’s incredibly important, so important that I consider Appropriate Sharpness to be one of the four pillars of a successful landscape photograph.  (For more, read Making a Photograph – The Four Pillars.)  Most of the questions center around depth of field and hyperfocal distance.  In fact, this is so important that I give a class on Appropriate Sharpness during just about every workshop.  Let’s start the discussion with Depth of Field

Depth of Field

This is the range, if you will, of objects in the view of your camera that are in focus.  Objects in front of this range are out of focus as well as objects behind the range.  A deep depth of field would have the flowers just a few feet from you camera and the distant mounts miles away all in focus.  The depth of field would then extend from a couple of feet to infinity and for all practical purposes would be infinitely deep.  This is often referred to as a ‘near-far composition.’

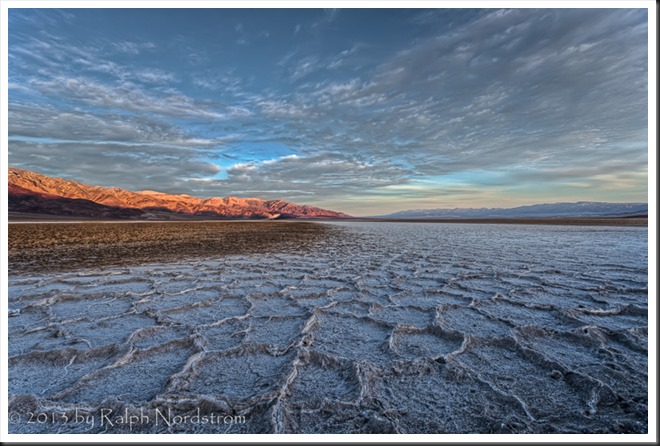
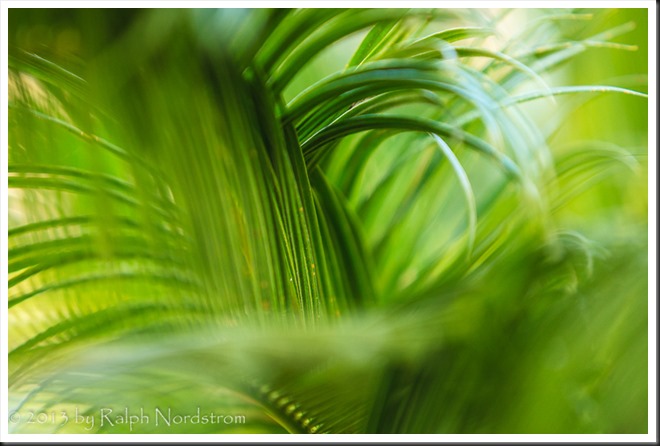
death_valley_sunrise_2012_rrpm_rc0A shallow depth of field may be just a couple of inches deep with nearer and more distant objects out of focus.  This is referred to as ‘Selective Focus.’

sego_palm_130629__SM36636

Continue reading “Mastering Sharpness – Depth of Field”

(3434)

Color Management Made Simple – From Computer to Print

Color Management can be a difficult topic. But we’re breaking it down for you. This is the third in a series of articles on the topic – from the Computer to the Print. For a full understanding, read all three.

Color Management is the science of getting the colors you want in your photographs – consistently.  And in my workshops I hear all too often that people are disappointed because the colors they get in their prints are not what they saw on their monitors.  They often go to a lot of work preparing an image and when they print it it’s as if all that work was a waste of time.

Color Management is indeed a science and can be very complicated and technical.  But getting the same colors on the print that you see on your monitor is essential if you are to have control over the creative process.  For that, color management is the key and in these series of articles I’m trying to break it down to make it more understandable and accessible for all of us.

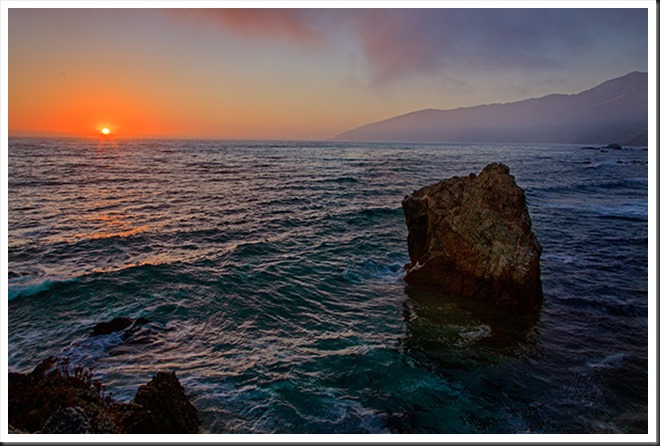
plaskette_rock_setting_sun_110808

In the previous two articles I presented the concept of a color space and what happens behind the scenes when you move the image from the camera to your computer.  See Color Management Made Simple – Color Space and Color Management Made Simple – From Camera to Computer.  In this article I’ll be covering the all important aspect of getting your prints to look like what you see on your monitor; that is, from Computer to Print.

Continue reading “Color Management Made Simple – From Computer to Print”

(3285)

HDR for Every Day

How can you get great color photographs in the middle of the day? Read this post to find out.

We landscape photographers tend to avoid photographing during the middle of a sunny day.  The light is harsh with no color.  We prefer golden hour or twilight.

But there are times when we have no choice as to when we can shoot.  When we’re on vacation with family we can’t wait until sunset at every location that sparks our interest.  So we get the shot and hope for the best.  But there’s a technique we can use that will greatly enhance our chances of capturing a more compelling photograph.

Continue reading “HDR for Every Day”

(1831)

Ansel Adams – The Making of 40 Photographs: Frozen Lake and Cliffs

Explore with me Ansel Adam’s comments on the making of “Frozen Lake and Cliffs.”

It was in the  ‘70s when I was backpacking through the Kaweah Gap areas of the Sierra Nevada mountains.  We were two days out and came upon this lake.  I instantly recognized it from on of Ansel Adams that I particularly liked – Precipice Lake.  It was exciting and we spent the night there.

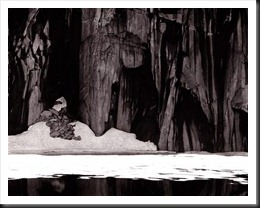
Frozen Lake and Cliffs (1932)

I’ve always been a fan of this Ansel Adams classic.   For me it has a feeling of immensity and majesty.  So it  has a special meaning to me reading about it in “Examples.”   A few things caught my attention in Adams’ narrative…

Continue reading “Ansel Adams – The Making of 40 Photographs: Frozen Lake and Cliffs”

(2135)

Making a Photograph – The Four Pillars

Explore the four things that make a great landscape photograph – Fantastic Light, Strong Composition, Appropriate Sharpness and Optimum Exposure.

I’ve been giving a lot of thought recently to what goes in to making a great landscape photograph. It turns out there are four things, four pillars if you will.  Four, that’s a good number.  There are the four legs of a table or the four wheels of a car.  And not to forget the four sacred directions of the Native Americans.

In landscape photography the four pillars are evenly divided between the aesthetics and the technical.  So what are they?  The two aesthetic pillars are Fantastic Light and Strong Composition.  No surprise there.  The two technical pillars are Appropriate Sharpness and Optimum Exposure.  No surprise there either.  If just one of those pillars is missing, well, the table collapses, the image suffers.

Let’s look at them one by one….

joshua_tree_spring_sunrise_2011
Joshua Tree Spring Sunrise (2011)
(click on the images to enlarge them)

Continue reading “Making a Photograph – The Four Pillars”

(7187)

Lightroom Tutorial – Importing Photographs

Get post processing started by importing your photographs into Lightroom.

An important part of post processing is importing your photographs into Lightroom.  The goal is to copy the files from your camera or laptop and store them on your desktop computer.  At the same time you also want to make a backup of all of your files.

You might be interested in the configuration of my desktop computer.  It has about 5 terabytes of storage.  This is where the image files will be stored.  I also have several terabytes of external storage – external hard drives.  This is where the backup copies go.

In this example I’ll be copying files directly from the camera.  The plan is to copy the files as they are to the backup storage.  But the files I store on the desktop storage will be converted to DNG format.  More on that in another post.

So with the big picture in mind, let’s get into the details.

Continue reading “Lightroom Tutorial – Importing Photographs”

(3455)